I remember the exact moment I decided to build my first home gym. I was standing in my local big-box fitness store, staring at a wall of equipment I couldn’t pronounce, price tags that made my eyes water, and a salesperson who kept trying to upsell me on a multi-thousand-dollar cable machine I absolutely did not need. I walked out with nothing but a vague sense of overwhelm and the determination to figure this out on my own.
That was over a decade ago, and I’ve since helped hundreds of clients — from complete beginners to seasoned athletes — build home gyms that actually work for their goals, their space, and their budgets. The truth is, you don’t need a massive garage or a bottomless bank account to create a setup that delivers serious results. You just need to know what’s worth your money and what’s just noise.
So let me save you the headache I went through. Here’s exactly what to buy first when building your home gym — and just as importantly, what to skip entirely.
The Non-Negotiable Foundation: Flooring
Before you buy a single piece of equipment, you need to think about what’s underneath it. I learned this the hard way when I cracked a tile in my apartment dropping a 30-pound dumbbell during an overhead press. Your floor takes a beating in a home gym — dropped weights, sweat, repeated foot impact during cardio intervals — and protecting it should be your very first investment.
Good gym flooring also protects you. A quality rubber mat absorbs impact on your joints during jumps and provides grip for heavy lifts. You don’t need anything fancy — interlocking rubber tiles or a rolled rubber mat will do the job beautifully. I covered my entire flooring journey in my complete guide to home gym flooring options, and I still stand by every recommendation.
Expect to spend $40–$120 depending on your space. It’s the least exciting purchase you’ll make, but it’s the one that saves you from expensive floor repairs down the road. If you want to see what’s available, I’d suggest browsing gym flooring mats on Amazon to get a feel for pricing and thickness options.
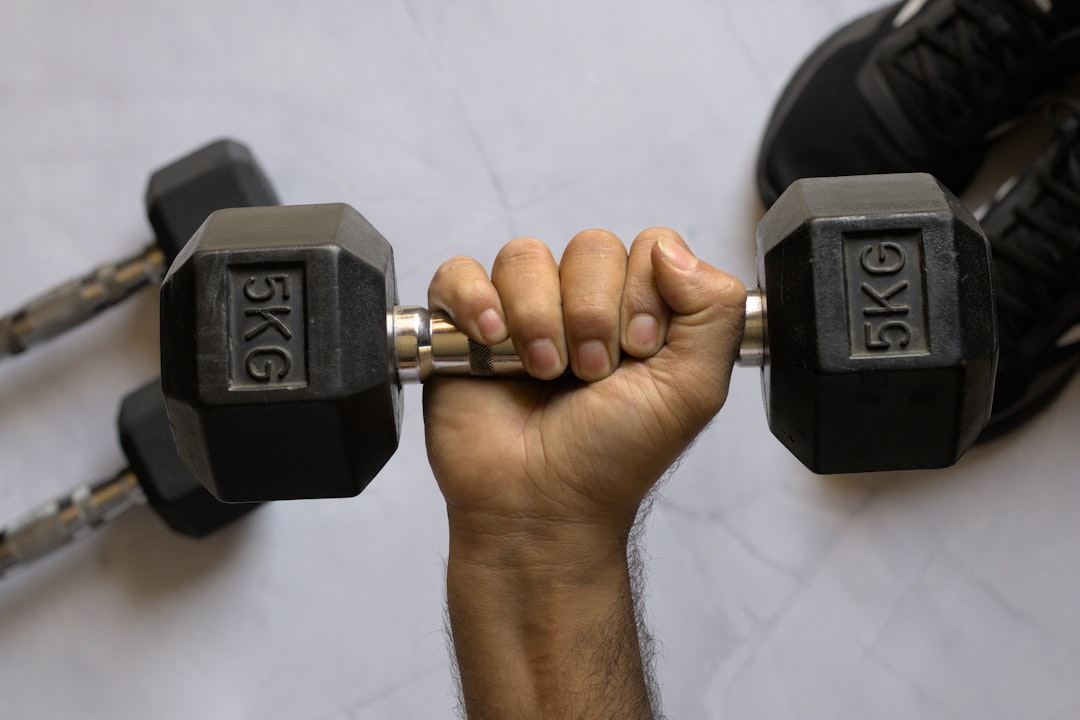
Priority #1: Adjustable Dumbbells

If I could only own one piece of fitness equipment for the rest of my life, it would be adjustable dumbbells. No contest. They replace an entire rack of fixed weights, take up roughly the footprint of a shoebox, and unlock hundreds of exercises for every muscle group in your body.
The beauty of adjustable dumbbells is the speed of transition between exercises. Modern designs use dial systems or pin mechanisms that let you change weight in seconds — crucial for keeping your heart rate up during circuit training or supersets. I’ve tested models ranging from budget-friendly 25-pound sets up to heavy-duty 90-pound monsters, and the right choice depends on your current strength level and how quickly you want to progress.
For most people starting out, I recommend a set that goes up to at least 50 pounds per hand. That gives you room to grow without needing to upgrade in six months. I break down my favorite models at different price points in my adjustable dumbbells under $300 guide, including options that work beautifully in apartments and small spaces.
You can browse the full range of options and compare prices over at Amazon’s adjustable dumbbell selection to find the weight range that matches your goals.
Priority #2: A Quality Weight Bench
A sturdy weight bench transforms your adjustable dumbbells from “nice to have” into a complete strength training system. Flat benches are the most affordable and versatile, but if you can swing it, an adjustable bench that inclines and declines dramatically expands your exercise options — chest presses at multiple angles, seated shoulder work, incline rows, and Bulgarian split squats are all suddenly on the table.
The key things I look for in a bench: stability (no wobbling under load), a weight capacity well above what you’ll ever lift, and a pad that’s firm enough for proper support without being uncomfortable. Avoid the ultra-cheap folding benches — they tend to flex under heavier loads and the padding compresses within months.
One thing I always tell clients: test the padding density if you can. Too soft and you’ll sink during heavy pressing, creating instability. Too firm and you’ll dread doing any exercise that puts your back against the pad. A good flat bench runs $80–$150, while a solid adjustable bench typically falls in the $150–$300 range. It’s worth spending a little more here for something that will last a decade. Check out adjustable weight benches on Amazon to compare features and read real user reviews.
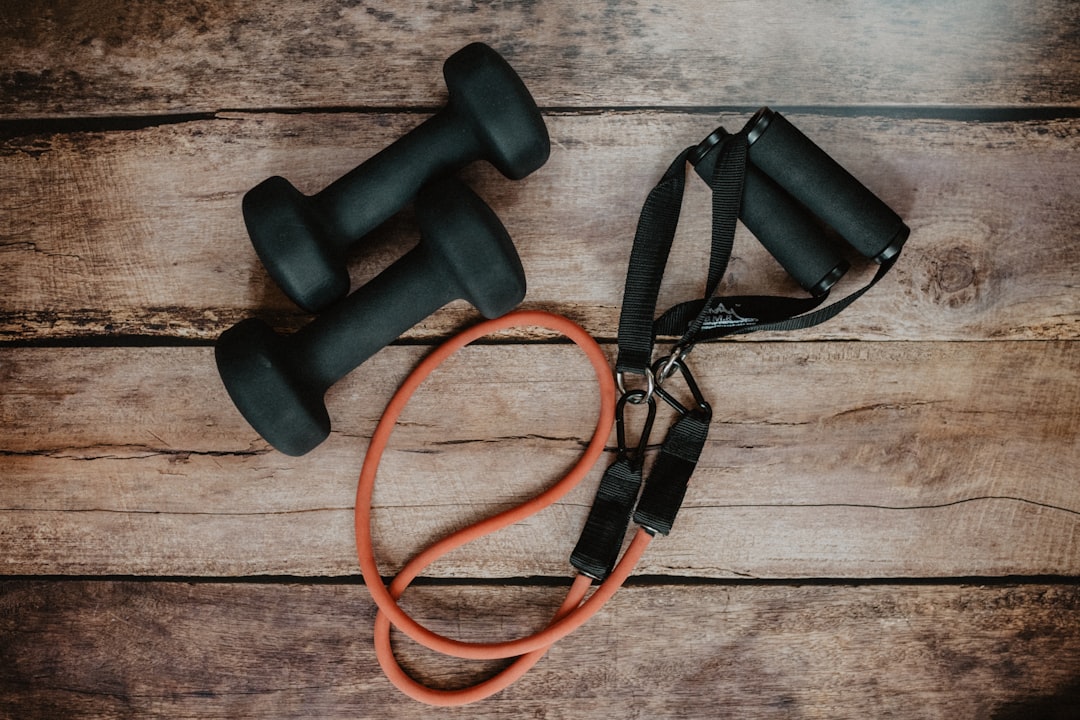
Priority #3: Resistance Bands
Here’s a secret the fitness industry doesn’t want you to know: resistance bands might be the single most underrated piece of equipment in existence. They cost a fraction of what weights cost, weigh almost nothing, and provide constant tension throughout the entire range of motion — something free weights can’t do because gravity only pulls in one direction.
I use resistance bands for warm-ups, finishers, rehabilitation exercises, and even full standalone workouts when I’m traveling. A good set with multiple resistance levels (light, medium, heavy, extra-heavy) gives you progressive overload without needing to buy anything else. Loop bands are my favorite for lower body work — glute bridges, lateral walks, and banded squats are absolute glute burners.
I spent months testing different sets and wrote up my honest findings in my complete resistance bands guide. Spoiler: the most expensive set wasn’t the best one.
You can also explore resistance band sets on Amazon to find options with handles, ankle straps, and door anchors that expand your exercise library even further.
Priority #4: A Kettlebell (Yes, Just One)
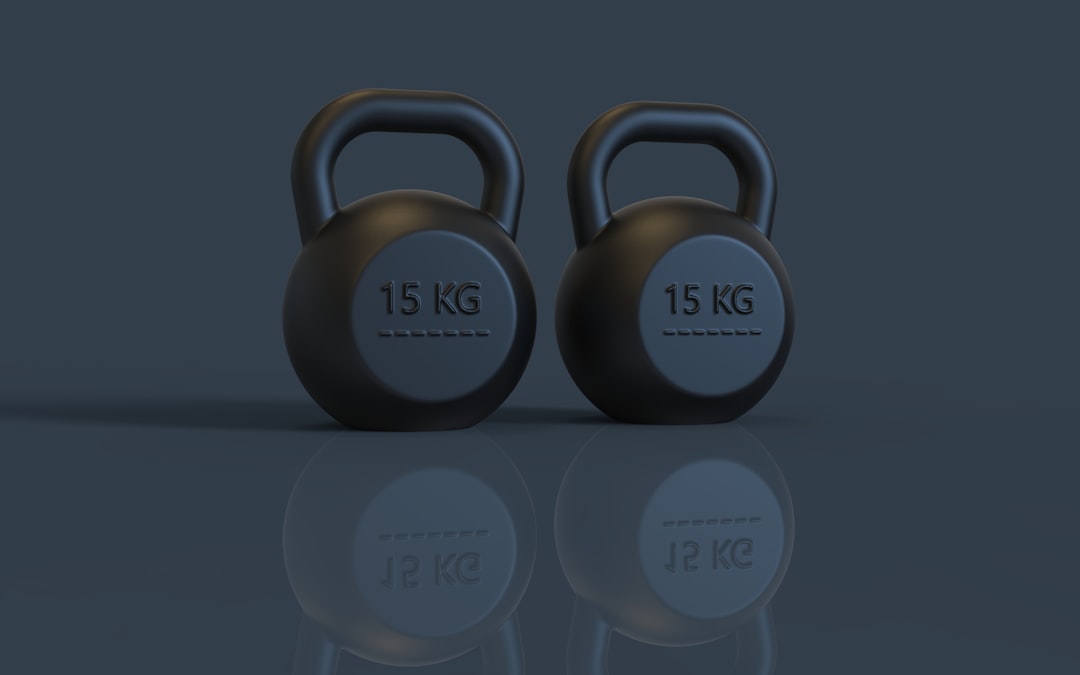
You don’t need a full set of kettlebells to get incredible results. A single kettlebell in the right weight opens up swings, goblet squats, Turkish get-ups, cleans, presses, and snatches — exercises that build explosive power, cardiovascular endurance, and functional strength simultaneously. That’s a lot of bang for one piece of iron.
For women new to kettlebell training, I typically recommend starting with 18–26 pounds (8–12 kg). For men, 26–35 pounds (12–16 kg) is a solid starting point. The key is choosing a weight that challenges you on swings but still allows you to maintain perfect form on slower movements like presses and Turkish get-ups.
If space is truly at a premium, consider an adjustable kettlebell — several brands now make models that replace 5–6 traditional kettlebells in one compact unit. I cover the top picks in my complete kettlebells for home workouts guide, including adjustable options and traditional cast iron bells.
For browsing options, Amazon’s kettlebell selection has everything from entry-level vinyl-coated bells to competition-grade cast iron. If you’re unsure about weight, remember you can always start with an adjustable kettlebell that grows with you.
What to Skip (At Least at First)
The Multi-Gym Cable Machine
I see this mistake constantly: someone drops $2,000–$5,000 on a multi-station cable machine before they’ve even established a consistent workout habit. These machines are impressive, sure, but they’re also enormous, expensive, and largely unnecessary for the first year or two of training. Your adjustable dumbbells, bench, and bodyweight exercises cover 90% of what a cable machine provides.
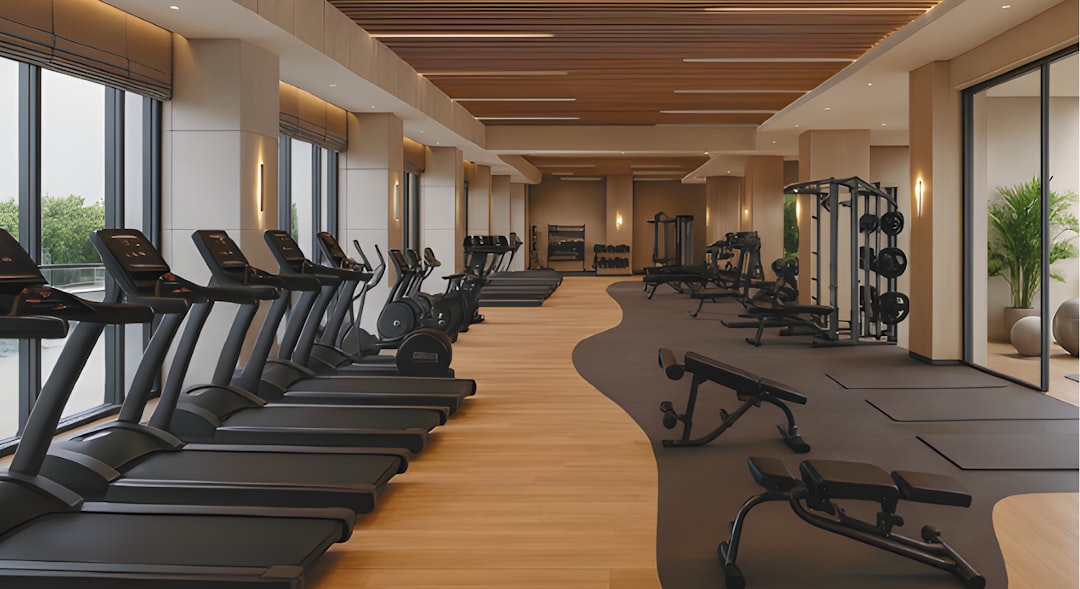
The Treadmill or Elliptical
Unless you live somewhere with genuinely hostile weather several months a year, you probably don’t need a cardio machine taking up half your living space. Walking, running, cycling, and hiking outdoors are free and frankly better for your mental health. If you need indoor cardio options, a jump rope ($15) or a set of plyometric boxes delivers a killer cardio workout in a fraction of the space and cost.
The Ab Roller / Gimmicky Single-Use Tools
Save your money for equipment that works multiple muscle groups and grows with you over time. A solid jump rope for $15 gives you more cardiovascular benefit than most gadgets ten times the price.
You know those late-night infomercial gadgets that promise six-pack abs in “just 5 minutes a day”? Yeah, skip all of them. Your core gets plenty of work from compound exercises like squats, deadlifts, overhead presses, and kettlebell swings. If you want targeted core work, planks, hanging leg raises, and Pallof presses with your resistance bands are far more effective than any $39.99 ab gadget.
Budget Breakdown: A Complete Starter Gym
Here’s what a solid starter home gym looks like financially:
- Flooring (rubber mat or tiles): $50–$120
- Adjustable dumbbells (50 lb set): $150–$300
- Weight bench (flat or adjustable): $100–$250
- Resistance band set: $20–$50
- Kettlebell (single): $30–$60
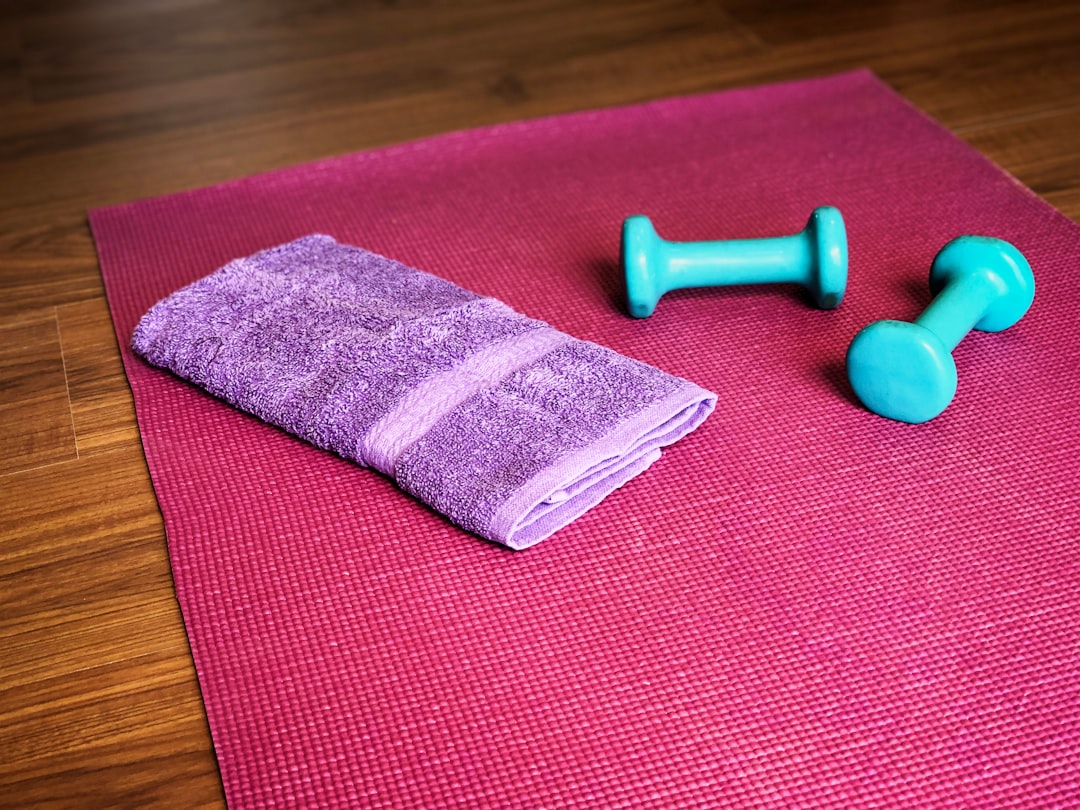
- Exercise/yoga mat: $20–$40
- Foam roller for recovery: $15–$30
That’s also a great time to pick up a quality water bottle and maybe a small bluetooth speaker — the little things that make your workout space feel like yours.
Total: $385–$850 for a setup that covers strength training, cardio capacity, mobility work, and recovery. That’s less than 6 months at most gym memberships, and you own it forever.
Building the Habit Before You Build the Gym
Here’s my honest advice after years of coaching: don’t buy everything at once. Start with flooring and adjustable dumbbells. Use them consistently for 4–6 weeks. If you’re still excited and showing up, add the bench. Then the kettlebell. Then bands. Building your gym incrementally does two things — it keeps your initial investment low, and more importantly, it proves to yourself that you’re actually going to use the equipment before you commit to more of it.
I’ve seen too many people drop $3,000 on a beautiful home gym that becomes the world’s most expensive clothes drying rack. The equipment doesn’t create the habit — you do. Start small, build momentum, and let your gym grow alongside your consistency.
Your future self — the one who’s stronger, more energized, and genuinely excited to work out — will thank you for starting smart instead of starting big.


One comment on “Building Your First Home Gym: What to Buy First and What to Skip in 2026”