Why I Finally Stopped Ignoring My Home Gym Flooring (And Why You Should Too)
I’ll admit it—I spent years working out directly on my carpeted living room floor. Drop a dumbbell? No problem, right? Wrong. After finding indentations in my carpet and feeling that sickening thud when a 25-pound weight slipped from my grip, I realized something had to change. The worst part? My knees started protesting every time I dropped into a burpee or lunged across the room. That’s when I discovered that gym flooring isn’t just about aesthetics—it’s about protecting your home, your joints, and your investment in fitness equipment.
Your flooring choice affects everything: noise levels for downstairs neighbors (or your sleeping family), how quickly your equipment wears down, and most importantly, whether your body can handle the impact day after day. After testing practically every flooring option over the past decade, I’ve learned that the right foundation makes or breaks your home workout experience. Let me save you from making the same mistakes I did.
The Five Types of Home Gym Flooring That Actually Work
Interlocking Foam Tiles: The Budget-Friendly Starting Point
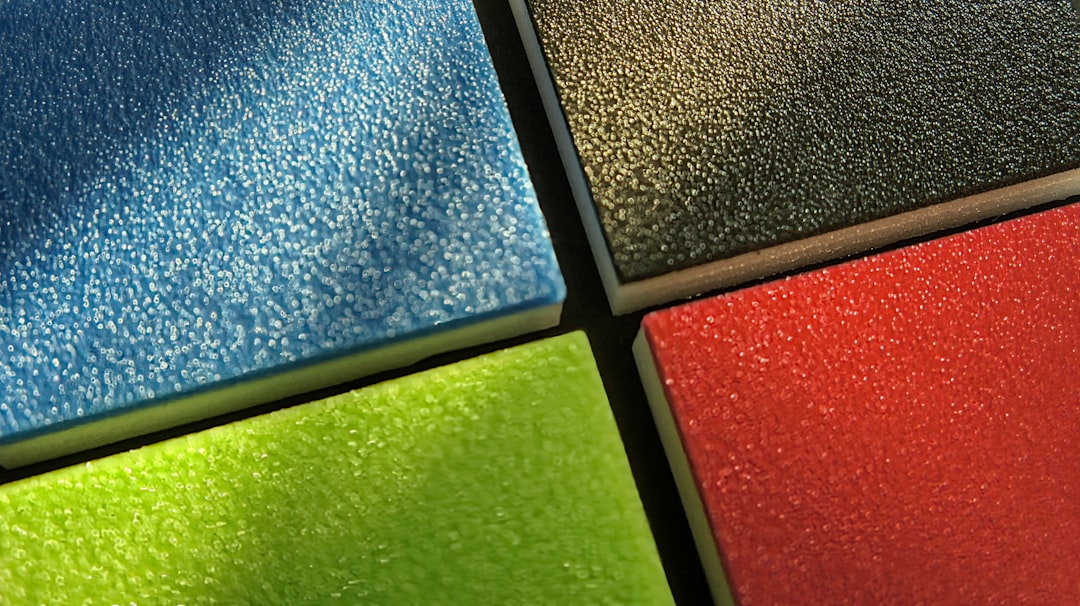
When I first transitioned from carpet to dedicated gym flooring, interlocking foam tiles were my gateway drug. These lightweight, puzzle-piece squares cost less than a nice dinner out and transform any space into a workout zone in under an hour. I remember laying down my first set in a spare bedroom, marveling at how suddenly I had a designated gym space rather than just a corner with scattered equipment.
Foam tiles excel at cushioning—perfect for bodyweight exercises, yoga, and floor work where you’re spending significant time on the ground. I particularly recommend sets with edge pieces that create a clean, finished border along your workout area. They’re surprisingly durable for light to moderate use, though heavy weights will leave permanent indentations. The biggest drawback? They absorb sweat and odors, so if you’re a heavy sweater (like me during HIIT sessions), you’ll want to clean them regularly or consider a more porous option. I’ve had good luck with six-pack tile sets that cover about 24 square feet—perfect for a small workout nook.
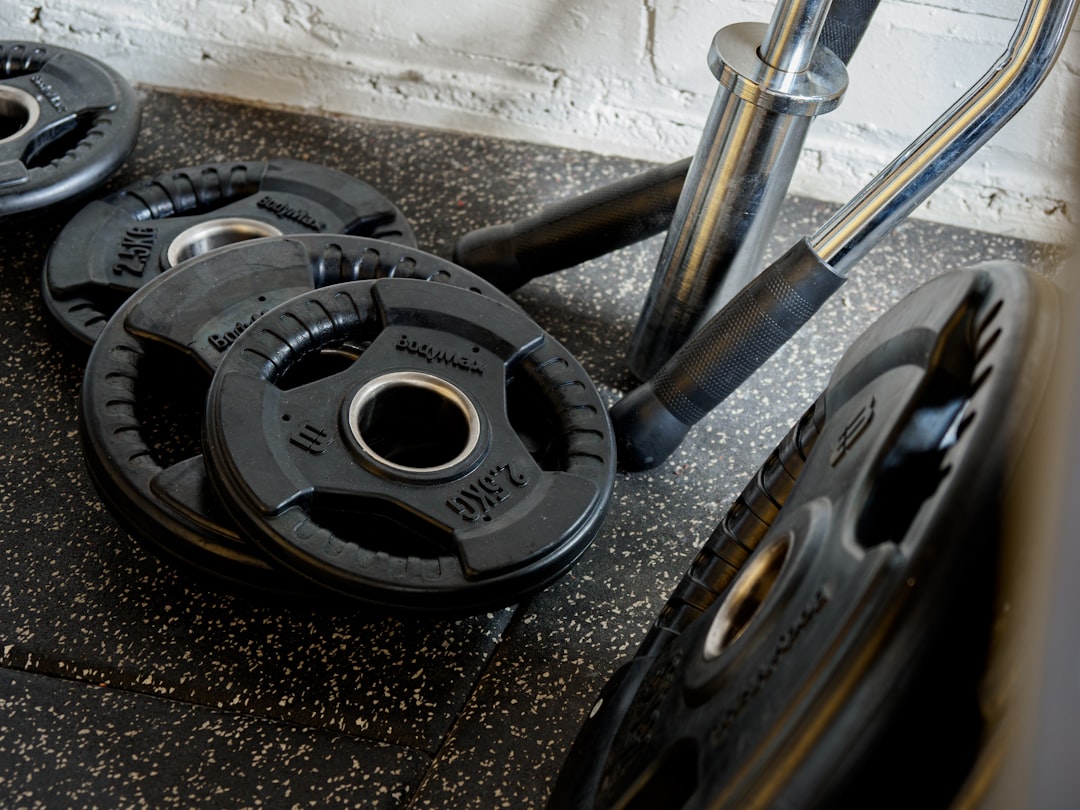
Rubber Gym Mats: The Gold Standard for Serious Lifters
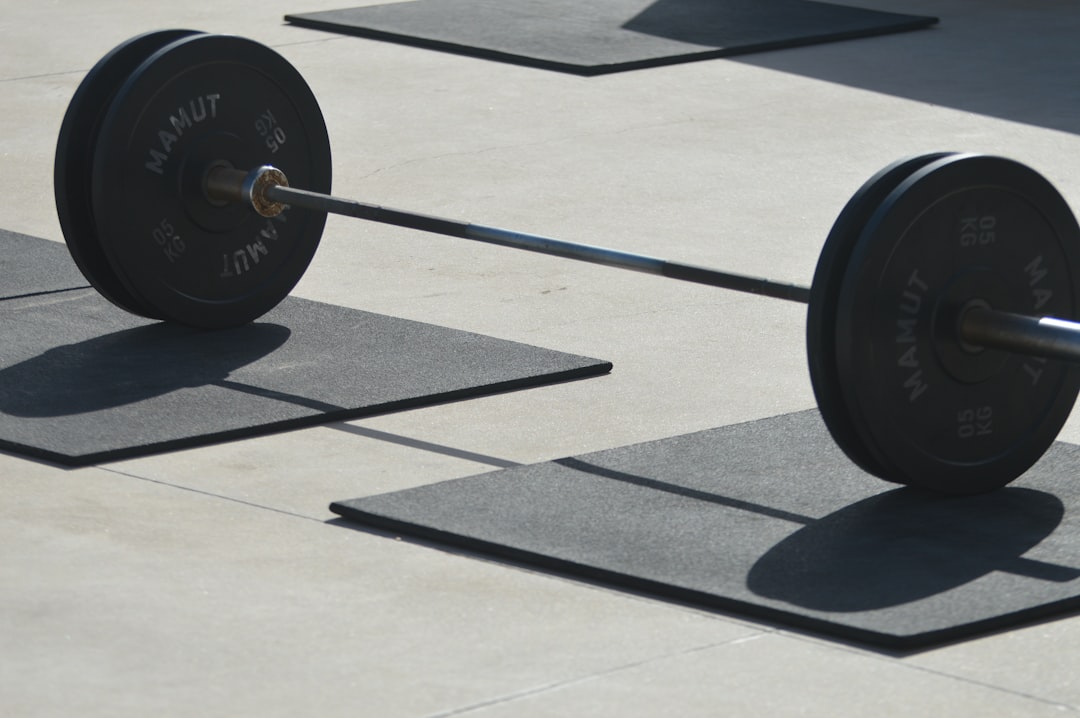
Once I graduated to heavier lifting, foam tiles couldn’t keep up. Enter rubber mats—specifically designed to absorb impact from dropped weights while protecting your subfloor. These dense, heavy mats (typically ¼ to ½ inch thick) became my go-to when I started building out a more serious home gym. I still remember the first time I deadlifted 225 pounds in my garage gym; when I lost my grip and the bar crashed down, the rubber flooring absorbed the shock without a mark on my concrete underneath.
Rubber mats come in two main varieties: rolled rubber (which comes in continuous rolls you cut to size) and rubber tiles (thicker interlocking squares). For DIY installation, I’ve found interlocking rubber tiles easier to work with since you don’t need to cut precise lengths with a utility knife. Rolled rubber creates a seamless look but requires more installation effort, while tiles offer easier replacement if one section gets damaged. For most home gym owners, I recommend starting with 4×6-foot rubber mats that you can arrange based on your space. They’re pricier than foam—expect to pay $2-4 per square foot—but they’ll last decades rather than years.
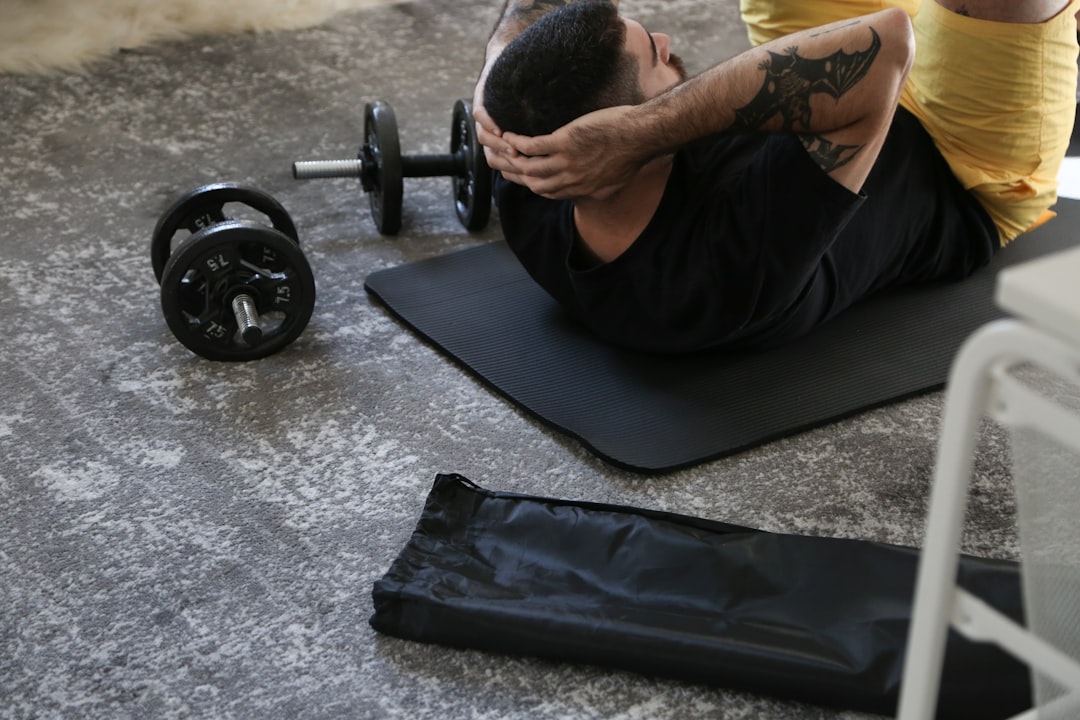
Carpet Protection Mats: The Renter’s Secret Weapon
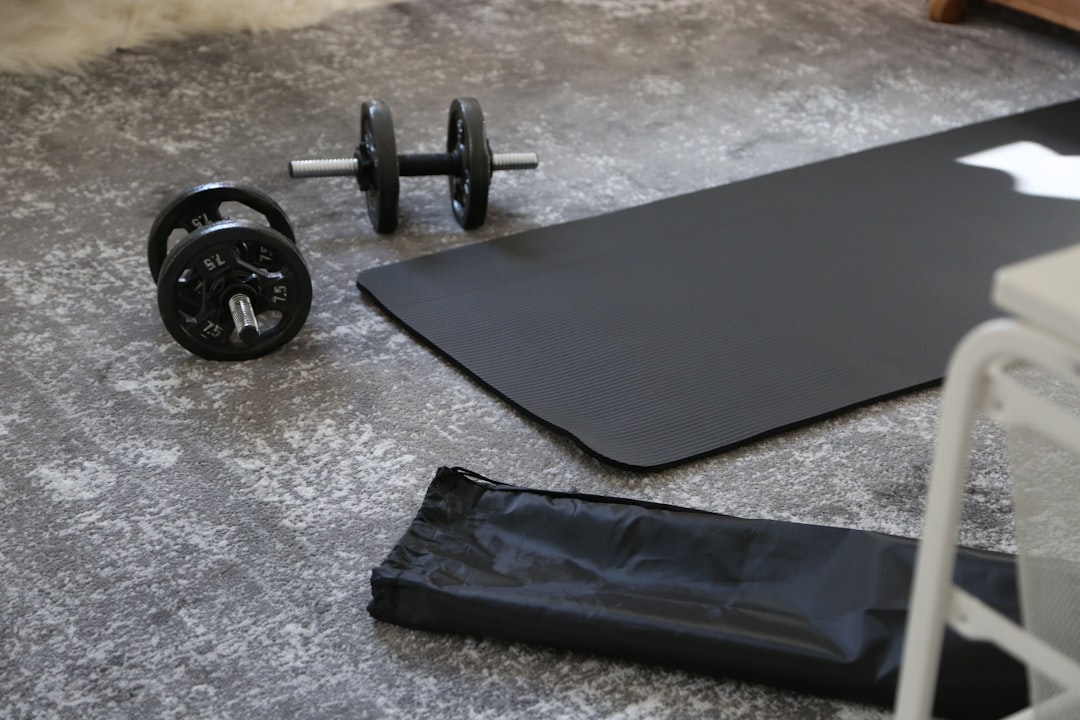
Not everyone owns their home or has a spare room to dedicate to fitness. For years, I worked out in apartments where drilling into the floor or laying down permanent flooring wasn’t an option. That’s when I discovered heavy-duty carpet protection mats—those dense, textured plastic mats designed to go under office chairs. I placed one under my adjustable dumbbells and suddenly my landlord’s carpet stopped bearing the brunt of my workouts.
These mats don’t provide much cushioning, but they excel at preventing indentations and damage from heavy equipment. They’re also moisture-resistant and easy to clean—a huge plus when you’re sweating all over your rental’s carpet. I’ve used polycarbonate carpet mats specifically designed for gym equipment, and they’ve saved me from more than one awkward conversation with property managers. The key is choosing a mat with enough surface area for your movements—nobody wants to constantly adjust their workout position to stay on a tiny square of plastic.
Artificial Turf: The Secret to Functional Training
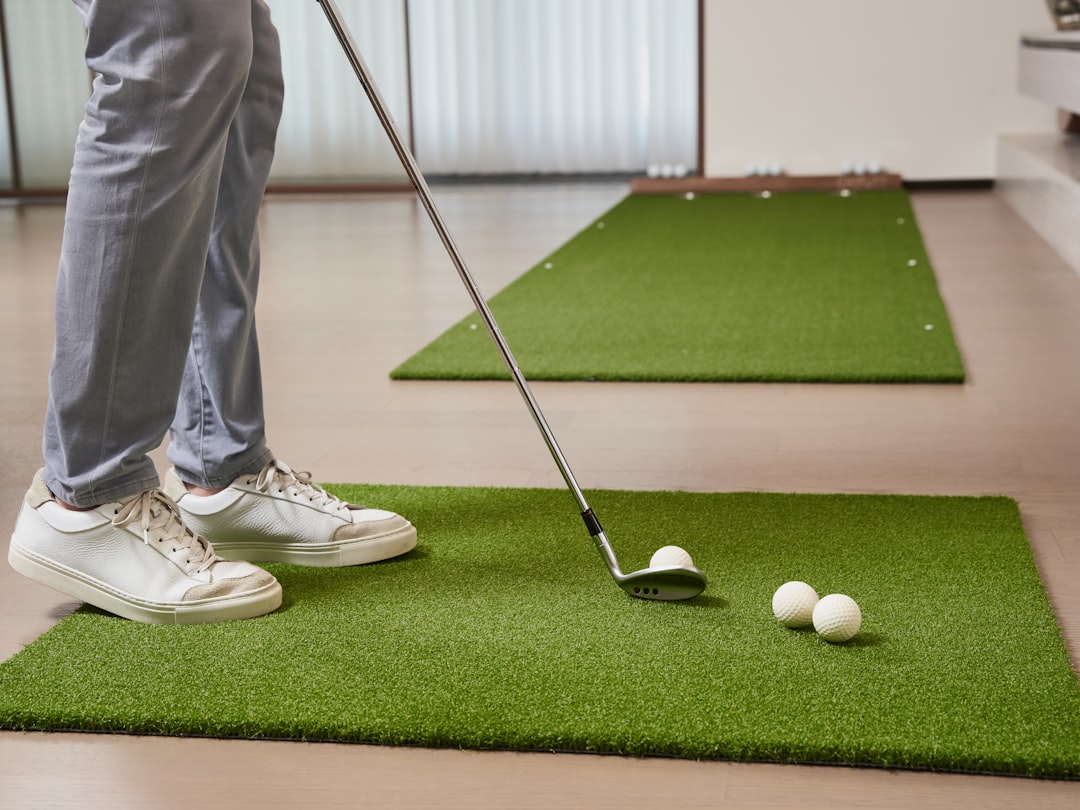
When I started incorporating more functional training—sled pushes, lunges, and explosive movements—I discovered that artificial turf isn’t just for football fields. The synthetic grass pairs perfectly with weighted workout sleds and agility drills, creating a versatile training zone that feels completely different from standard lifting areas. The synthetic grass provides incredible traction for pushing movements while absorbing enough shock to make high-impact exercises feel less jarring on my joints. Plus, there’s something psychologically satisfying about training on turf; it feels like being in a legit sports facility rather than your basement.
Most turf options come with a rubber backing that provides some cushion, though serious impact still requires additional padding underneath. I recommend turf specifically for functional training zones rather than your entire gym floor. Gym-grade turf rolls typically come in 6-15 foot widths that you can cut to length. Just be aware that turf requires more maintenance than other options—you’ll need to vacuum it regularly and sanitize it if you’re doing lots of floor work with skin contact.
Plywood and Rubber Combo: The DIY Enthusiast’s Dream
For the truly dedicated home gym builder (I see you, garage gym warriors), nothing beats a plywood subfloor topped with rubber mats. This construction gives you a solid, stable base for heavy lifting while still protecting your actual concrete floor. You’ll need some specialized tools for the job, including concrete anchors to secure the plywood layer properly—this isn’t the time to cut corners on installation quality. I helped my brother build this setup in his garage, and the difference in sound absorption and equipment stability was night and day compared to working directly on concrete.
The process involves laying down ¾-inch plywood sheets (screwed, not just nailed, into your concrete or existing floor), then covering with rolled rubber or rubber tiles. It’s not cheap and requires serious DIY skills or professional installation, but it creates essentially a commercial-grade gym floor in your home. For most people, I’d recommend starting with simpler options, but if you’re building a permanent gym space, gym-grade plywood underlayment paired with rolled rubber flooring creates a foundation that will literally last a lifetime.
How to Match Your Flooring to Your Workout Style
For Yoga, Pilates, and Bodyweight Work

If your workouts consist mostly of yoga flows, core work, and bodyweight movements, you don’t need heavy-duty rubber. Foam tiles or even a high-quality yoga mat layered over carpet will serve you well. The priority here is cushioning for your joints and a surface that’s comfortable for prolonged floor contact. I’ve done entire yoga teacher training programs on nothing but interlocking foam tiles, and my body thanked me for the extra padding during hour-long Savasana sessions.
For Heavy Lifting and Strength Training
This is where rubber flooring becomes non-negotiable. Between the impact of dropped weights and the shear force from heavy deadlifts, lighter materials just can’t handle the stress. I learned this the hard way when a dropped kettlebell punched right through my foam tiles, leaving a crater that became a permanent tripping hazard. For strength training, you want at minimum ¼-inch rubber mats, though ½-inch provides better sound absorption if noise is a concern. If you’re working with limited space, consider gym flooring liners that cover just your primary lifting zone rather than the entire floor area. And if you’re doing Olympic lifting with bumper plates, consider dedicated lifting platforms for your primary lifting zone.
For HIIT and Cardio Workouts
High-intensity interval training creates a unique challenge: you need flooring that can handle jumping and lateral movement while providing enough cushion to protect your joints during high-impact exercises. I’ve found that rubber mats around ⅜-inch thick hit the sweet spot—firm enough for stability but cushioned enough to make jump landings feel less punishing. If you’re doing lots of rope work or resistance band training, you might also appreciate the added traction of rubber versus smoother foam options.
The Installation Mistake That Cost Me Hundreds
I’ll share a painful lesson: measure twice, buy once. In my eagerness to set up my first home gym, I ordered flooring based on rough room measurements, only to discover I was 30 square feet short when I started laying it down. This led to a frantic second order (with different dye lots, naturally) and a patchwork floor that looked like a amateur job. Before you buy anything, map out your exact gym dimensions, accounting for any obstructions like support poles, electrical outlets, or built-in shelving.
Also, consider your workflow. I’ve made the mistake of laying flooring that ended too close to walls, leaving no space for storage or making movements like lateral lunges awkward. Give yourself at least 2-3 feet of clearance beyond your primary workout zone—you’ll thank yourself during plank walk-throughs or wide-stance exercises. And if you’re using interlocking tiles, buy an extra 10% for mistakes and replacements. Matching dye lots years later is nearly impossible, and having spare tiles on hand has saved me more than once when a particularly heavy workout left permanent indentations.
Maintenance: The Chore That Extends Your Floor’s Life
Your gym flooring is an investment, and like any investment, it requires maintenance. Rubber flooring is the most forgiving—a quick sweep and occasional mopping with mild soap keeps it looking fresh for years. Foam tiles, however, absorb everything: sweat, skin oils, and even bacteria. I learned this the hard way when a lingering knee injury forced me to confront the fact that my foam tiles had developed a distinct odor. Now I wipe them down weekly with a solution of water and vinegar, which kills bacteria without degrading the foam.
Artificial turf requires the most attention. Between shedding synthetic grass fibers and trapping dust and debris, you’ll need to vacuum it at least weekly—more often if you’re doing lots of floor work. Sanitizing becomes crucial too, especially if you’re training barefoot. I use a gym-grade disinfectant spray after particularly intense sessions, letting it air dry completely before my next workout. And regardless of your flooring type, address spills immediately. I once let a protein shake spill sit on my rubber mats overnight, and the resulting sticky residue took an hour of scrubbing to remove.
The Bottom Line: Prioritize Based on Your Reality
After years of experimenting with every flooring option imaginable, here’s what I’ve learned: the best gym flooring is the one that matches your actual workouts, space, and budget—not what Instagram influencers claim is essential. If you’re doing bodyweight workouts in a corner of your living room, foam tiles or carpet protection mats might be all you need. If you’re building a dedicated strength training space, invest in rubber flooring from day one—it’ll pay for itself in protected equipment and happier joints.
Your flooring is literally the foundation of your fitness journey. It affects how your body feels during and after workouts, how your equipment performs, and even whether your family or neighbors can tolerate your training schedule. Don’t make the mistake I did and treat it as an afterthought. Start with what you can afford, upgrade as your needs evolve, and prioritize function over aesthetics. Your knees—and your landlord—will thank you.


2 Comments on “Best Home Gym Flooring Options 2026: Complete Guide to Protecting Your Floors and Joints”