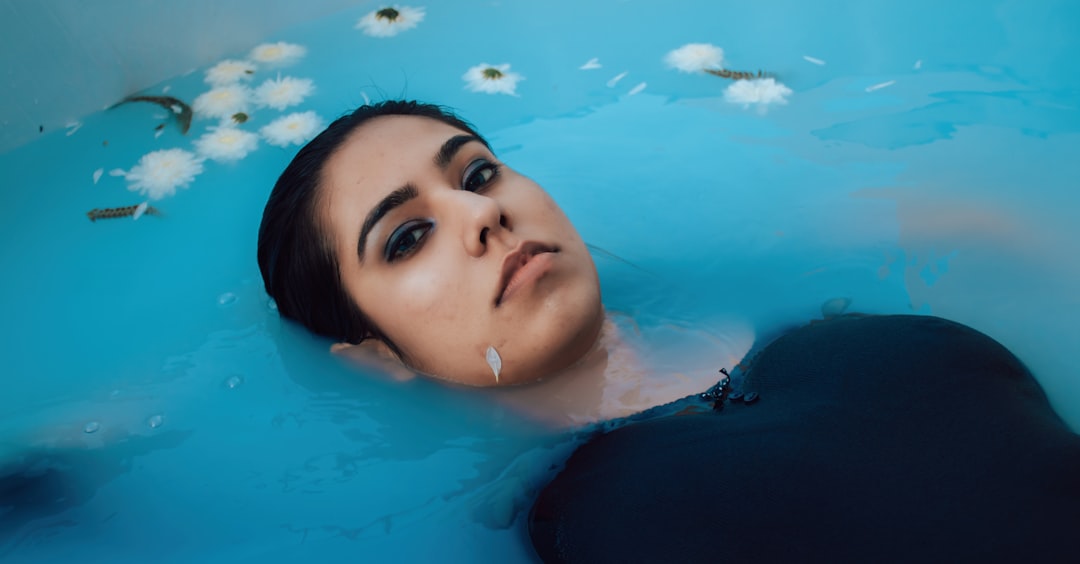
If you told me a year ago that I’d be voluntarily lowering my body into 39-degree water every single morning before sunrise, I would have laughed in your face. But here I am, 90 days into a daily cold plunge practice, and I’m honestly mad I didn’t start sooner. The mental clarity, the reduction in post-workout soreness, the weird addictive rush of accomplishment — it’s all real. What’s also real is how confusing it is to figure out which cold therapy setup is actually worth your money.
When I decided to commit to cold plunging, I went down a rabbit hole that would make your head spin. There are $50 inflatable tubs on Amazon, $500 insulated barrels, and $6,000 self-chilling luxury units with Wi-Fi controls and UV filtration. I spent weeks comparing options, talking to fellow athletes and coaches, and testing three different setups in my own garage. This is everything I wish someone had told me before I pulled out my credit card.
Why Cold Plunging Has Exploded in Popularity
Cold water immersion isn’t new — athletes have been jumping into ice baths since the 1960s. But between Wim Hof’s breathwork movement, the explosion of home wellness tech, and a growing stack of peer-reviewed research, cold plunging has gone from locker room ritual to mainstream wellness habit. A 2024 meta-analysis published in the International Journal of Circumpolar Health found that regular cold water exposure was associated with reduced inflammation markers, improved mood, and better sleep quality. That tracks completely with my experience.
What’s changed in 2026 is accessibility. You no longer need a country club membership or a professional sports facility to access cold therapy. Companies are building affordable, compact systems designed for home use, and the options range from glorified buckets to sleek smart tubs that look like they belong in a spa. The hard part isn’t deciding to cold plunge — it’s figuring out what to buy.
The Three Types of Home Cold Plunge Setups
Before you spend a single dollar, you need to understand the three categories of cold therapy equipment. Each has its place depending on your budget, space, and commitment level.
The DIY Ice Bath (Budget: $0–$100)
This is where most people start, and honestly, there’s zero shame in it. You can use your own bathtub, a stock tank from a farm supply store, or even a large plastic storage container. Fill it with cold water, dump in 20–40 pounds of ice, and get in. I started this way, and it taught me something valuable: the cold doesn’t care how much you spent on the container. Your body responds the same whether you’re in a $6,000 tub or a Rubbermaid bin from Home Depot.
The downsides are obvious. Buying ice every day gets expensive fast (I calculated roughly $4–$8 per session at convenience store prices). Temperature control is nonexistent — you’re guessing. And if you live somewhere warm, your “cold” plunge might be 55 degrees in summer, which barely counts. But if you want to test whether cold plunging is something you’ll actually stick with before investing, this is the way to go. You can find affordable stock tanks online that work perfectly for this.
The Insulated Barrel or Tub with Ice (Budget: $200–$800)
This is the sweet spot for a lot of people. These are purpose-built cold plunge containers — usually cylindrical barrels made from insulated materials like rotomolded polyethylene or even cedar wood. They don’t have built-in chillers, so you still add ice, but the insulation means you need far less of it and the water stays colder for longer. Think of them as a major upgrade from the DIY approach without the sticker shock of a chiller unit.
I tested one of the popular barrel-style tubs for about three weeks, and the difference was night and day from my DIY setup. The insulated walls kept the water at a consistent temperature for hours, the included lid kept debris out, and the upright sitting position actually felt more comfortable than lying in a bathtub. The insulated cold plunge barrels available now range from simple molded plastic to beautiful cedar models that look like furniture. My advice: if you’ve been doing DIY ice baths for a month and you’re still committed, upgrade to one of these.
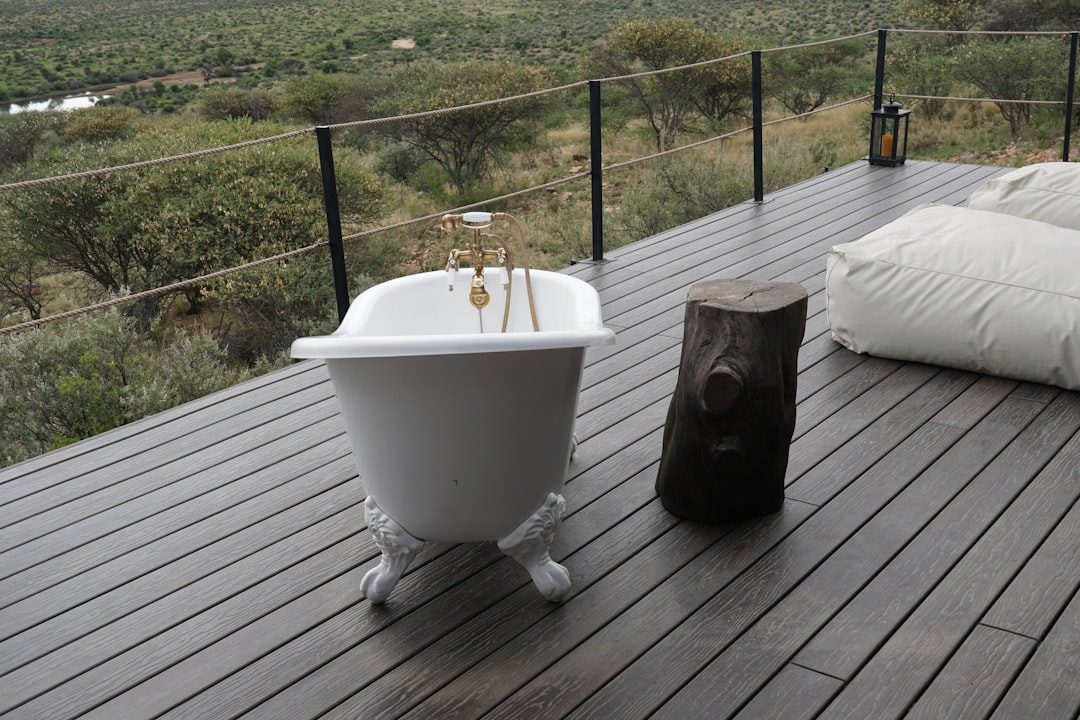
The Self-Chilling Cold Plunge (Budget: $2,000–$8,000+)
These are the units that have flooded my Instagram feed and probably yours too. They have built-in compressors that cool the water to your desired temperature (usually as low as 37°F), maintain it 24/7, and often include filtration systems, UV sanitization, and app-controlled scheduling. You fill it once, set your temperature, and it’s always ready. No ice runs. No guessing.
After three months with a self-chilling unit, I can tell you the convenience is addictive. Waking up at 5:30 AM and having perfectly chilled water waiting for me removes every possible excuse. The filtration means I only change the water every few weeks. And the temperature consistency matters more than you’d think — knowing it’s exactly 42°F every single time lets you track your adaptation progress precisely.
The catch, of course, is the price. These units range from around $2,000 for basic models to $6,000+ for premium tubs with all the bells and whistles. You can browse self-chilling cold plunge options to get a sense of the range. For what it’s worth, if you calculate the cost of daily ice purchases over a year, a chiller unit can actually save money in the long run if you’re consistent.
What I’d Buy Based on Where You Are Right Now
After testing multiple setups and talking to dozens of cold plunge enthusiasts at my YMCA and online communities, here’s my honest recommendation framework.
If you’re cold-curious (first 30 days): Don’t buy anything expensive. Use your bathtub. Buy a portable inflatable cold plunge tub for under $100 if your bathtub isn’t deep enough. Spend your money on a good thermometer so you know what temperature you’re actually getting. Cold plunging isn’t for everyone, and there’s no point dropping thousands on something that might become an expensive clothes drying rack.
If you’re committed (1–3 months in): An insulated barrel or tub is your move. You’ve proven to yourself that this is a habit, not a phase. You’re tired of buying ice. An insulated unit reduces your ice needs dramatically and gives you a dedicated space that signals to your brain (and your family) that this is part of your routine. I’d look at the top-rated insulated ice barrels and pick one that fits your space and height.
If you’re all-in (3+ months, daily practice): Get a self-chilling unit. At this point, you know cold plunging is a permanent part of your wellness stack. The daily convenience, the precise temperature control, and the filtration system make it worth the investment. Think of it like a treadmill — yes, you could run outside for free, but the consistency and convenience of having it at home changes everything. A home cold plunge chiller unit is an investment in your consistency, and consistency is where the real benefits live.
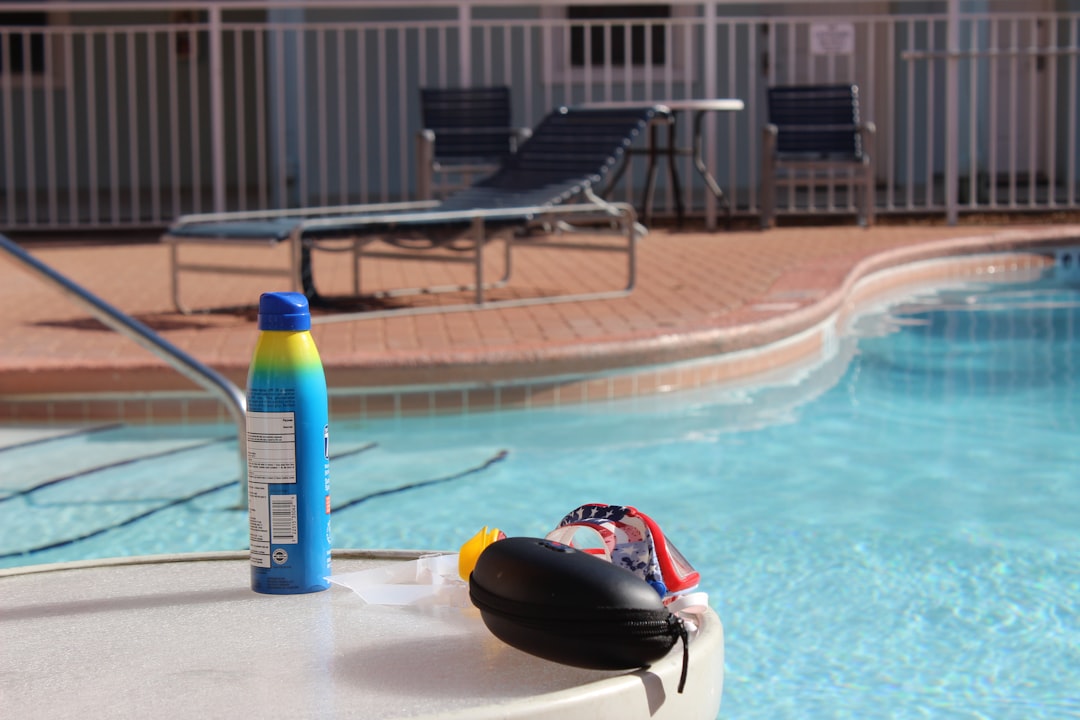
The Accessories That Actually Matter

The cold plunge industry has spawned an entire ecosystem of accessories, most of which you absolutely do not need. But a few are genuinely helpful, and I use them daily.
A water thermometer. This is non-negotiable. You need to know your water temperature to track progress and stay safe. The cheap floating pool thermometers work fine, but I prefer the digital water thermometers with instant readings. Knowing I’m at 41°F versus 47°F is the difference between a invigorating plunge and a leisurely cool bath.
A timer. Your phone works, but cold wet fingers and touchscreens don’t mix well. I picked up a waterproof swim timer that I can set to countdown mode, and it’s been a game-changer for progressive overload. Week one: two minutes. Week four: five minutes. Week twelve: eight minutes. You can’t progress what you don’t measure.
Neoprene booties and gloves. Your extremities will feel the cold first and hardest, and for some people, the hand and foot pain is the barrier that stops them from building the habit. A pair of neoprene water shoes and gloves takes the edge off without reducing the core benefits. I wore them for my first month and eventually phased them out, but they were essential for building my tolerance.
The Science-Backed Benefits I’ve Experienced
I want to be clear: I’m not a doctor, and I’m not making medical claims. But I’ve tracked my subjective experience closely over 90 days, and here’s what changed for me.
My post-workout recovery improved noticeably. After heavy squat days that used to leave me waddling for 48 hours, a 5-minute plunge brought my perceived soreness from a 7/10 down to about a 3/10. Research from the European Journal of Applied Physiology supports this, showing reduced creatine kinase levels and perceived muscle soreness following cold water immersion after intense exercise.
My morning energy skyrocketed. There is nothing — and I mean nothing — that wakes up your nervous system like stepping into freezing water before the sun comes up. The norepinephrine spike from cold exposure is real and measurable. I’ve replaced my second cup of coffee with my plunge, and I actually feel more alert and sustained in my energy throughout the morning.
My sleep improved, which surprised me. I do my plunge first thing in the morning, but the parasympathetic rebound effect seems to carry through my entire day. I fall asleep faster and wake up fewer times during the night. Studies on cold adaptation and sleep architecture are still emerging, but I’m not the only one reporting this benefit.
Safety First: What Nobody Tells You
Cold plunging is powerful, but it’s not risk-free. Here are the safety essentials that every guide should cover but most don’t.
First, talk to your doctor if you have any cardiovascular conditions, high blood pressure, or Raynaud’s syndrome. Cold water immersion spikes your heart rate and blood pressure initially, and that’s not safe for everyone. I have a close friend with mild hypertension whose doctor greenlit cold plunging but recommended starting at 55°F instead of 40°F. Listen to medical professionals, not influencers.
Never plunge alone when you’re first starting out. The shock response can cause gasping and even temporary disorientation. Having someone nearby for your first few weeks is just smart risk management. Once you’re experienced and know how your body responds, solo plunging is generally fine.
Start warm and go cold gradually. My progression was 60°F for one minute in week one, working down to 39°F for eight minutes by week twelve. Your body adapts, but it needs time. Jumping straight into 39-degree water for five minutes on day one is how you end up hating the practice and quitting before the benefits kick in.
Invest in a good water sanitizer or filtration system if you’re using any standing water setup. Bacteria love stagnant water, and you do not want to be soaking in that. Hydrogen peroxide-based sanitizers, UV lights, and regular water changes are your friends.
Setting Up Your Cold Plunge Space
Where you put your cold plunge matters more than you’d think. I’ve seen people cram units into corners of their garage and never use them because the experience is miserable — cold, dark, and cramped. My setup is in a corner of my garage with a outdoor mat underneath, a small shelf for my towel and timer, and a string of LED lights overhead. It sounds silly, but making the space inviting means you’ll actually use it. (I covered this idea in more depth in my piece on Best Home Gym Flooring Options 2026: Complete Guide to Protecting Your Floors and Joints.) (I covered this idea in more depth in my piece on Building Your First Home Gym: What to Buy First and What to Skip in 2026.)
If you’re going the outdoor route, consider weather protection. Most self-chilling units are designed for outdoor use, but the compressor works harder in direct sunlight and extreme heat. A simple shade structure or covered patio extends the life of your equipment and keeps your energy costs down. You can find weather-resistant covers and canopies that work well for this purpose.
For indoor setups, water management is your primary concern. Even the best tubs occasionally splash or drip. A rubber mat with raised edges and a nearby drain (or a wet/dry vacuum for occasional cleanup) will save you from water damage headaches. I keep a waterproof floor mat under my setup and it’s caught every splash without issue.
My Honest Takeaway After 90 Days
Cold plunging has earned a permanent spot in my wellness routine, right alongside strength training and quality sleep. The benefits I’ve experienced — faster recovery, better energy, improved mood, deeper sleep — are worth every dollar and every shivery morning. But I want to be honest about something: it’s not magic. It’s a practice. And like any practice, the benefits accumulate over time.
Don’t let the marketing fool you into thinking you need the most expensive unit on day one. Start with what you have. Prove to yourself that you’ll show up. Then upgrade when the habit is solid. The best cold plunge setup is the one you’ll actually use consistently, whether that’s a bathtub full of ice or a smart tub that texts you when it’s ready.
If you’re on the fence, my challenge to you is simple: try cold showers for two weeks. Thirty seconds of cold at the end of your normal shower. If you hate it after two weeks, cold plunging probably isn’t for you, and you’ve saved yourself a lot of money. But if you find yourself actually looking forward to that cold blast — if you notice the energy, the clarity, the weird satisfaction — then welcome to the cold plunge club. Your body will thank you.


2 Comments on “Cold Plunge at Home: What I Learned After 90 Days of Daily Ice Baths (And What to Actually Buy)”