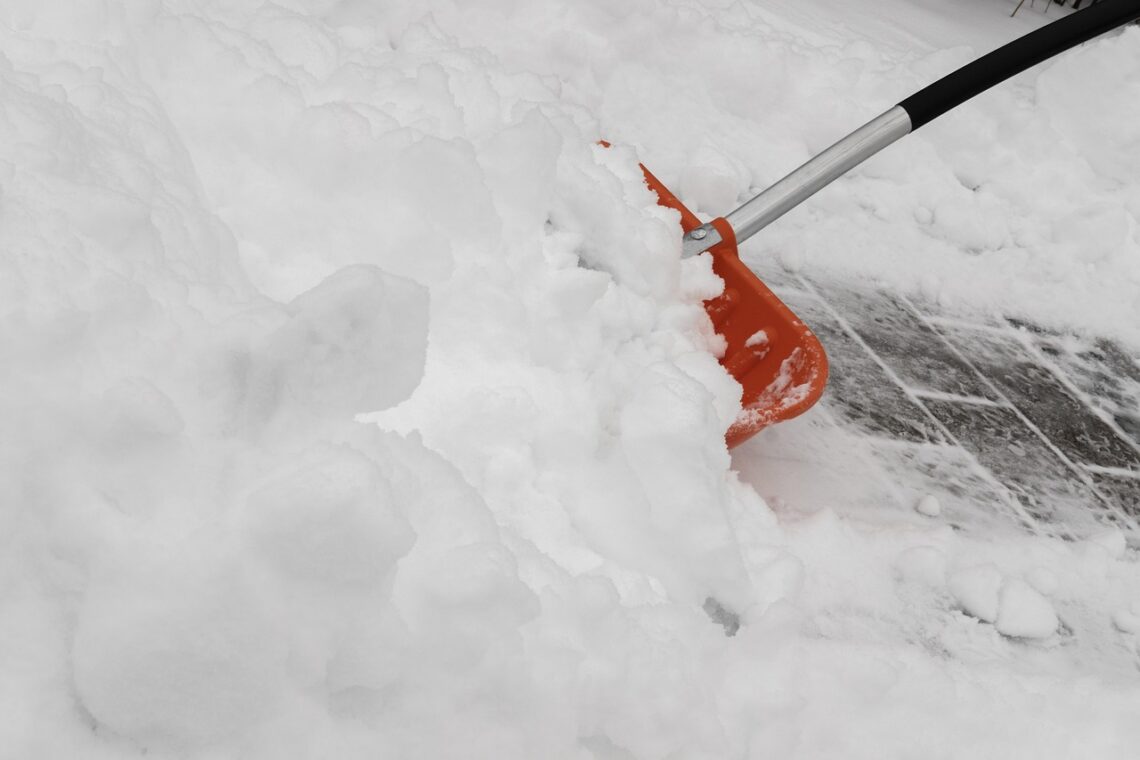
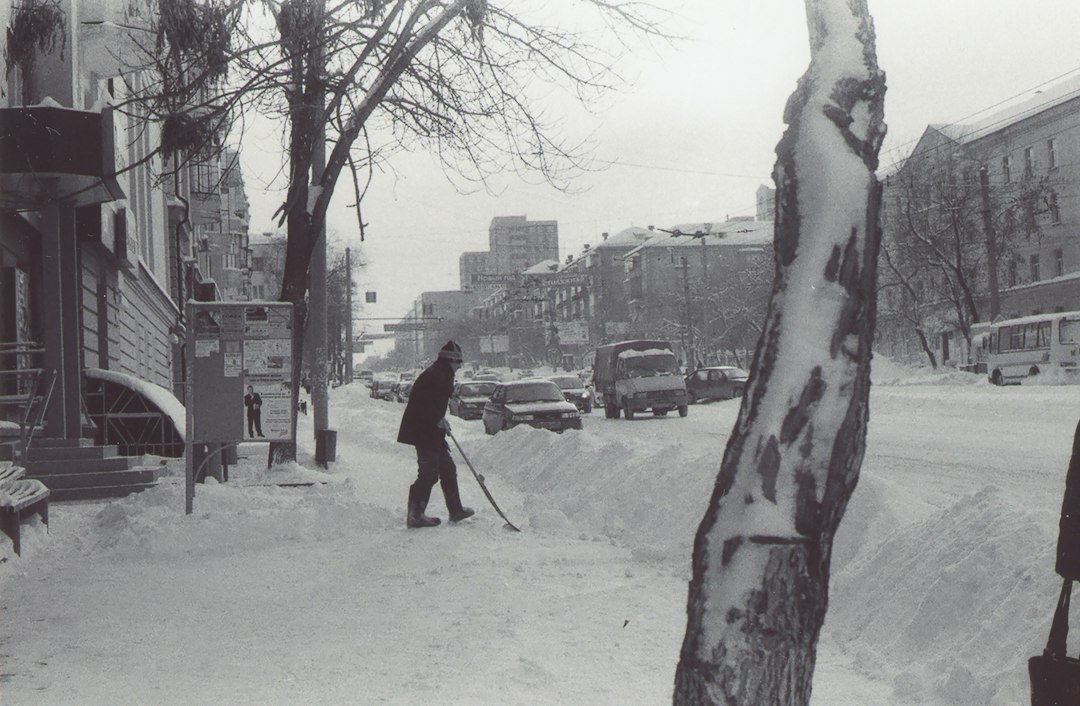
The first real snow of the season always arrives the same way in my neighborhood: quietly overnight, then all at once at 6:30 a.m., when every front door on the block opens and a dozen people who haven’t lifted anything heavier than a laundry basket since March walk out and start heaving wet snow over their shoulders. I’ve coached for long enough to know what comes next. By Tuesday my inbox has the messages: “Tweaked my back clearing the driveway.” “Felt a weird tightness in my chest halfway through and had to sit down.” “My shoulder hasn’t been right since Saturday.”
So every November, before the forecast turns white, I give my clients the same briefing. Snow shoveling isn’t a chore. It’s a workout: a loaded, cold-weather, often-done-before-breakfast session that can push your heart rate as high as a hard run and load your spine like a heavy deadlift. Treat it like a workout and it can be one of the best training sessions of your winter. Treat it like a chore and it’s one of the most reliable ways to hurt yourself between now and March.
Here’s my full plan: who should be careful, the five-minute warm-up, the technique I teach, the pacing rules, and the short kit list I keep by the back door. That kit has saved a lot of backs.
Why the First Big Snow Is the Dangerous One
Most shoveling injuries don’t come from technique alone. They come from a perfect storm (pun fully intended) of factors that all hit at once on that first storm morning.
Cold air raises your blood pressure. When you step into freezing air, your blood vessels constrict to keep your core warm. Your heart now has to pump against more resistance before you’ve even picked up the shovel.
Arm work is harder on the heart than leg work. Pushing and lifting with your arms, especially while you brace and hold your breath, drives heart rate and blood pressure up faster than walking or cycling at the same effort. Cardiology researchers have been flagging snow shoveling for decades because it combines all of this: heavy arm work, breath-holding, cold, and people who are often out of condition.
It’s usually first thing in the morning. Blood pressure naturally rises in the early hours, your spinal discs are at their most hydrated (and least forgiving) right after you get out of bed, and most people head out without breakfast, water, or a single warm-up rep.
Wet snow is heavy. A full shovel of fresh, wet snow can weigh 15 to 20 pounds, sometimes more. Clear a two-car driveway and you may move well over a thousand pounds of snow, one rep at a time, often with a twist at the end of every lift.
None of this means you shouldn’t shovel. It means you should show up the way you’d show up to a training session: warmed up, fueled, paced, and dressed for the job.
Who Should Hand Off the Shovel (or Get a Green Light First)
I’ll be direct here, because I love you and I want you around for spring. If any of these describe you, talk to your doctor before you shovel this winter, and seriously consider a snowblower, a neighborhood teen, or a shoveling service:
- You have known heart disease, a prior heart attack or stent, or heart failure.
- You have high blood pressure that isn’t well controlled, or diabetes plus other cardiac risk factors.
- You smoke, or you’re over 55 and mostly sedentary.
- You’ve had recent back surgery, a disc injury, or a hernia.
- You’re recovering from an illness. If you’ve just had the flu, my five-day return ramp after the flu applies here too. A driveway is not day one.
And for everyone: stop immediately and call 911 if you feel chest pressure or pain, pain spreading to your arm, jaw, neck, or back, unusual shortness of breath, lightheadedness, or a cold sweat. Do not “just finish the last section.” The snow will still be there. This is the one part of this article that isn’t coaching. It’s a safety rule.
The Five-Minute Warm-Up I Do Inside the Front Door
You’d never deadlift cold. Don’t shovel cold. I do this in the hallway with my coat already on, so I walk out the door warm instead of stiff:
- March in place, 60 seconds. Knees up, arms swinging. Get blood moving and the heart rate climbing gently before the cold hits.
- Hip hinges, 10 reps. Hands on hips, soft knees, push your hips back like you’re closing a car door with your backside, then stand tall. This is the pattern you’ll use for every scoop.
- Bodyweight squats, 10 reps. Slow and controlled, all the way to a comfortable depth.
- Arm circles and open-book rotations, 10 each way. Your upper back should do the rotating, not your lower back.
- Glute bridge holds or wall sit, 30 seconds. Wake up the glutes so they share the load with your back.
If you train with a mini band, throw in 10 lateral band walks. A Fabric Resistance Loop Bands Set lives in my coat closet for exactly this reason. Thirty seconds of band work turns on the hips better than anything else I know.

The Right Tool Is Half the Technique
Here’s what I tell every client who swears they “just have a bad back”: go look at your shovel. If it’s a short, straight-handled metal scoop that weighs as much as a small kettlebell, the shovel is part of the problem.
For most driveways and sidewalks I recommend two tools instead of one:
- A wide pusher for the bulk of the work. The Wide-Blade Snow Pusher Shovel lets you plow snow to the edge without lifting it at all. Pushing is dramatically easier on your spine and heart than lifting. If you only change one thing this winter, push more and lift less.
- A lightweight ergonomic shovel for the edges and the banks. Look for a bent or adjustable shaft and a second handle, like the Ergonomic Bent-Handle Snow Shovel or a Snow Shovel with Second Handle Grip. The curve keeps you more upright and the second handle stops you from cranking through your lower back on every scoop.
A smaller blade is your friend. A giant scoop just tempts you into lifting 25 pounds at a time. I’d rather you move more, lighter loads.
Shovel Like You Train: The Technique
I teach shoveling the same way I teach a kettlebell deadlift, because it’s the same movement pattern with an awkward object at the end of a long lever.
1. Feet wide, staggered, and pointed at the snow. Take a split stance with the shovel side foot slightly forward. Your toes and hips should face the snow you’re about to move.
2. Hinge and bend, don’t round. Push the hips back and bend your knees. Your chest stays proud, your back long. If you could balance a broomstick along your spine, you’re doing it right.
3. Hands wide on the shaft. One hand near the blade, one on the handle. The closer your lower hand is to the load, the shorter the lever and the less your back has to fight.
4. Load small, keep it close. Fill the blade a third to half full if the snow is wet. Bring the shovel close to your body before you stand.
5. Legs lift, then walk, then dump. Drive up through your legs. Then, and this is the one that saves backs, step and pivot your feet toward where the snow is going. Never twist at the waist with a loaded blade, and never throw snow over your shoulder. If you need to move it far, walk it there.
6. Breathe. Exhale as you lift. Holding your breath and bearing down is what spikes blood pressure. Steady breathing keeps it calmer.
If this hinge feels foreign, that’s a sign you’d benefit from training it indoors. My three-day strength plan for the dark months builds exactly this pattern with deadlifts and goblet squats, and it’s not just for women in midlife. The stronger your hips and legs, the less your back has to do in a snowbank.
Pacing Rules: Treat It Like Intervals
The biggest mistake I see isn’t bad form. It’s trying to clear everything in one heroic, unbroken effort. Here’s how I pace a big storm:
- Work 5 to 10 minutes, rest 1 to 2. Stand up tall, walk around, breathe through your nose, sip something warm. Then go again.
- Use the talk test. You should be able to speak in short sentences. If you can only gasp out single words, you’re working too hard. Slow down or rest.
- Watch your heart rate if you wear a tracker. I tell most clients to keep shoveling in a steady, moderate zone rather than letting it drift into all-out territory. A Chest Strap Heart Rate Monitor reads more accurately than a wrist sensor when your arms are working hard and your wrists are cold.
- Shovel early and often. In a long storm, go out every few inches instead of waiting for a foot. Fresh, light snow is far easier to move than packed, wet, plow-pushed snow.
- Eat a little first. A banana or a slice of toast with peanut butter 20 to 30 minutes before. Just don’t head out right after a huge meal, either. Digestion and heavy work compete for blood flow.
And here’s the coach’s secret: if you pace it this way, a 40-minute shoveling session is genuinely great conditioning. Loaded carries, hinges, pushes, and squats in the cold air. Log it as a workout. Skip the gym that day if you want. You’ve earned it.
Dress Like You’re Going for a Winter Run
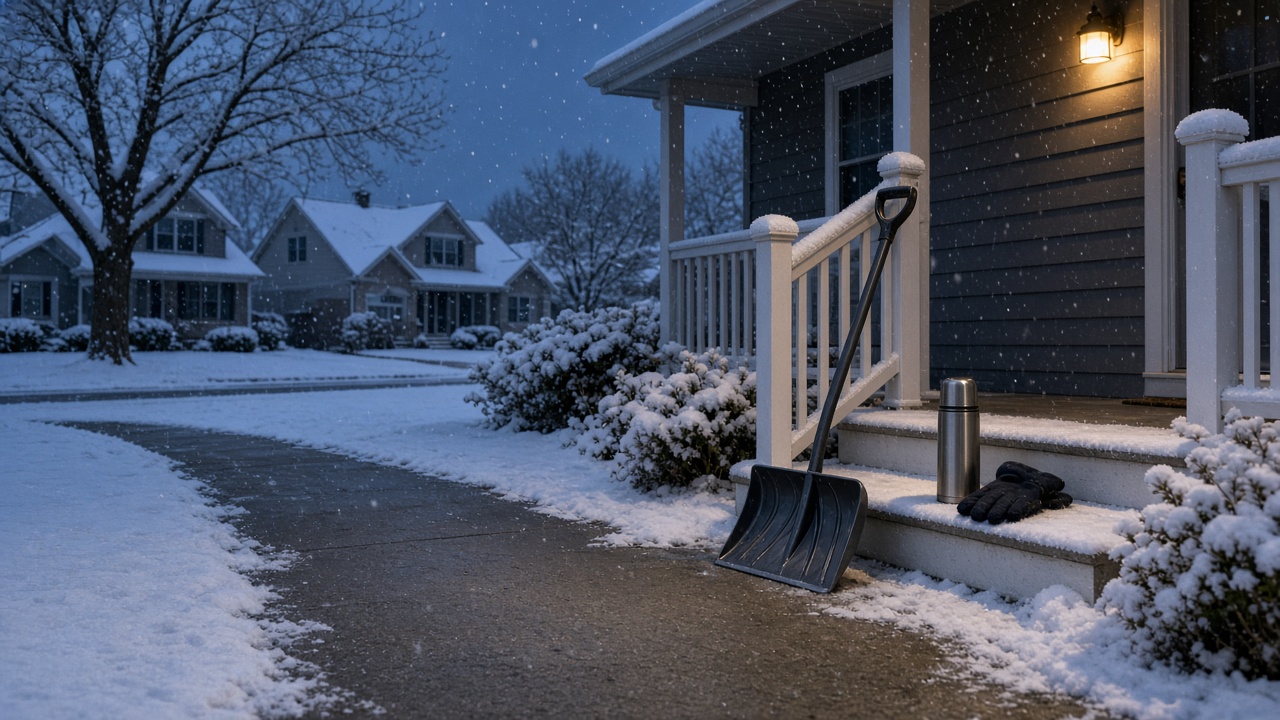
Most people dress for shoveling the way they’d dress to stand at a bus stop: a single heavy parka. Ten minutes in, they’re sweating; twenty minutes in, that sweat is cold against their skin. Layer like an athlete instead.
- Base layer: A moisture-wicking top like a Merino Wool Base Layer Top moves sweat off your skin so you stay warm when you pause.
- Hands: Waterproof, insulated gloves with real grip, because a slippery handle makes you squeeze harder and tire your forearms. I like Waterproof Insulated Winter Work Gloves, and I slip Air-Activated Hand Warmers inside on the bitter mornings.
- Feet: Insulated boots, warm socks, and traction. More on traction in a second, because falls send almost as many people to urgent care as strained backs.
- Head and face: A hat and a neck gaiter you can pull over your mouth. Breathing slightly warmer air takes a little edge off the cold-air hit on your airways and your heart.
The Fall Is the Injury Nobody Plans For
We talk a lot about backs and hearts, but a huge share of winter injuries are simple slips: on the steps, on the last strip of driveway, on the black ice you can’t see under that powdery dusting. A wrist fracture or a hip bruise can take you out of training for weeks.
Two things change the odds dramatically:
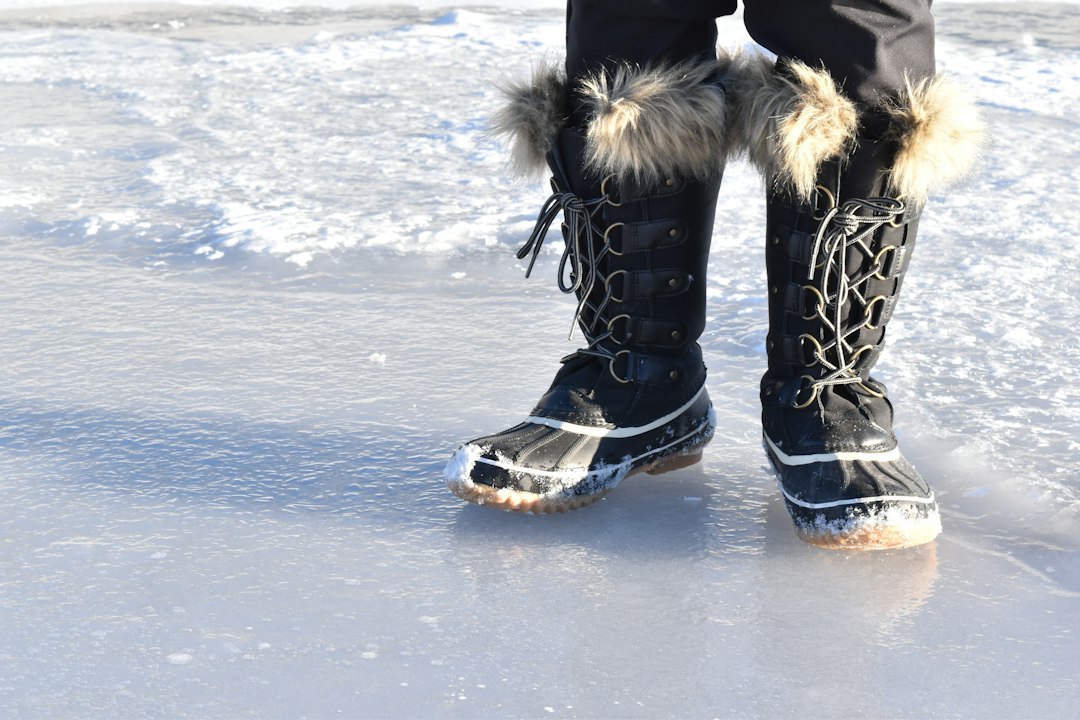
Traction on your boots. Slip-on Ice Cleats for Boots are one of the cheapest injury-prevention tools I know. They stretch over the boots you already own and bite into packed snow and ice. Keep a pair by the door with the shovel.
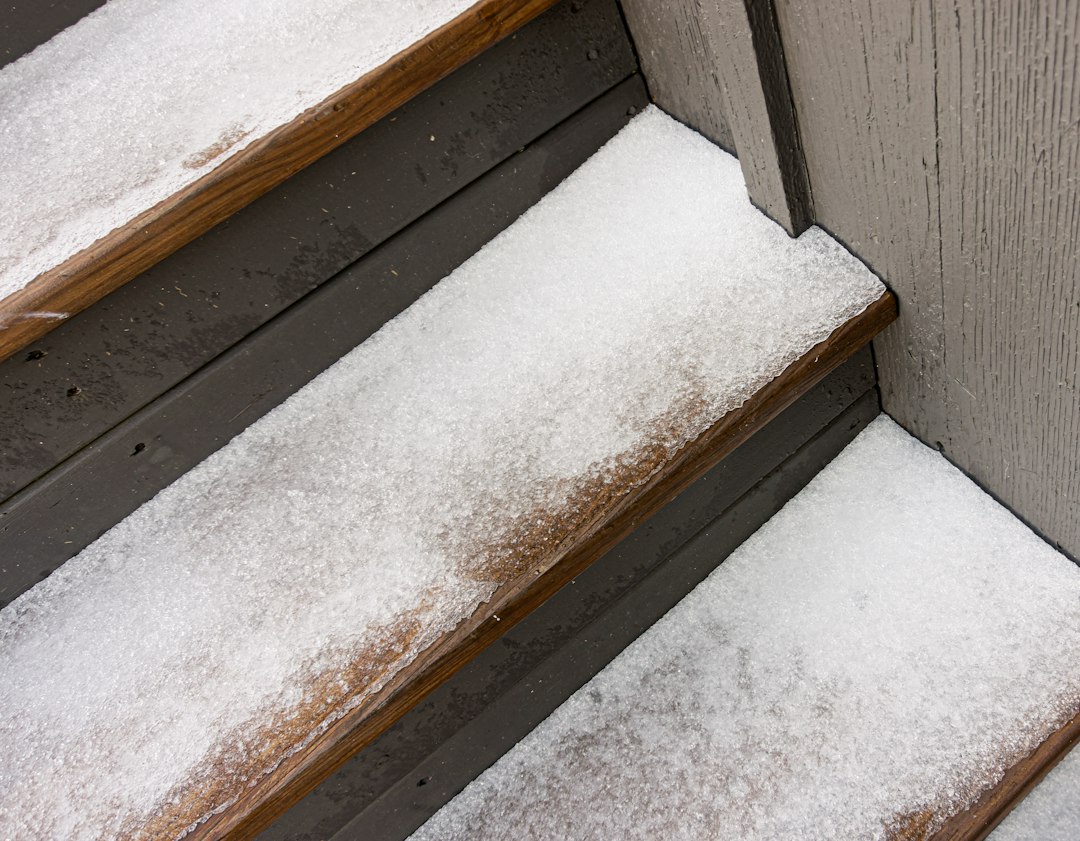
Treat the steps before you need them. A Pet-Safe Ice Melt on the steps and the walk, spread before or right after you clear, keeps the refreeze from turning your front path into a rink overnight. I use a pet-safe formula because my neighbor’s dog visits daily and because it’s gentler on concrete and paws alike.
And yes, balance is trainable. If you want to stay upright on icy ground at any age, my piece on the one-leg balance skill nobody trains is the best ten seconds a day you’ll spend this winter.
My Back-Door Shoveling Kit
Here’s the short list I keep in one bin by the back door, so the first storm doesn’t catch me scrambling. Every item has a job:
- Wide-Blade Snow Pusher Shovel to move most of the snow without lifting.
- Ergonomic Bent-Handle Snow Shovel for edges, banks, and steps.
- Snow Shovel with Second Handle Grip to retrofit the shovel you already own.
- Ice Cleats for Boots to stay upright.
- Pet-Safe Ice Melt for steps and walkways.
- Waterproof Insulated Winter Work Gloves for grip and warmth.
- Air-Activated Hand Warmers for the single-digit mornings.
- Merino Wool Base Layer Top so you stay dry under your coat.
- Rechargeable LED Headlamp, because in November you’re usually shoveling in the dark, before work or after it.
- Insulated Stainless Steel Thermos with something warm for your rest breaks.
- Chest Strap Heart Rate Monitor if you want to pace by numbers.
- Fabric Resistance Loop Bands Set for the hallway warm-up.
The Cool-Down Most People Skip
When the last strip of pavement is clear, don’t go straight to the couch. Your back has just done a few hundred loaded hinges in the cold. Give it five minutes:
- Walk it off. Two easy minutes around the block or the house, letting your heart rate come down gradually.
- Child’s pose, 45 seconds. Breathe into your back ribs.
- Cat-cow, 8 slow reps. Restore some movement to a spine that’s been braced for half an hour.
- Hip flexor stretch, 30 seconds per side. Split stance shoveling tightens the front of the hips.
- Doorway chest stretch, 30 seconds. Open the shoulders back up.
Then get warm, change out of damp layers, and rehydrate. Cold air is dry and you lose more water through breathing than you’d guess. A warm mug of ginger-lemon tea is my post-storm ritual, and it feels like a reward every single time.
If you’re sore the next day in your glutes and legs, that’s training. If you’re sore in one sharp spot in your lower back, or you have pain that travels down a leg, back off, and see a physical therapist or doctor if it hasn’t eased within a few days.
Train for the Storm Before the Storm
The best shoveling injury prevention happens weeks before the first flake. If you build a little strength and conditioning now, the first storm feels like a workout instead of a crisis. My go-to prescription for the next few weeks, two or three times a week:
- Hinge: kettlebell or dumbbell Romanian deadlifts, 3 sets of 8.
- Squat: goblet squats, 3 sets of 10.
- Carry: suitcase carries, one weight in one hand, 3 trips of 30 seconds per side. This one is gold for shoveling, because it trains your trunk to resist bending sideways.
- Anti-rotation: band Pallof presses, 3 sets of 10 per side, to teach your core to stop the twist.
- Conditioning: 10 to 20 minutes of steady cardio so your heart is ready for a sustained effort.
If you’re a skier, you’ve got a head start; my four-week ski legs countdown builds the same hips and legs, and it’ll carry right over to the driveway.
And as you stock up for the season, the bigger-picture strategy for staying fit through the holidays is in my maintenance-season training and protein plan from earlier this month. Shoveling sessions count toward it, so log them.

The Bottom Line
Snow shoveling is one of the hardest workouts most people do all winter, and they do it cold, unfed, unwarmed, and in a rush. Flip that around. Warm up in the hallway. Push more than you lift. Hinge like you’re deadlifting, walk the snow instead of twisting, and breathe out on every lift. Work in intervals, pace with the talk test, and stop at the first sign of chest discomfort. Gear up with traction, a smart shovel, and warm, dry layers.
Do it that way, and the first big snow of the season becomes something I genuinely hope you’ll look forward to: fresh air, a quiet street, a satisfying job well done, and a real workout in the bank before breakfast. Now go check your shovel. I’ll see you out there.