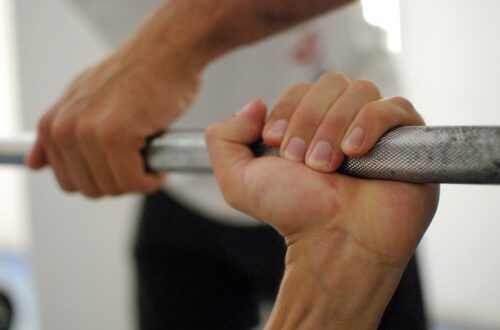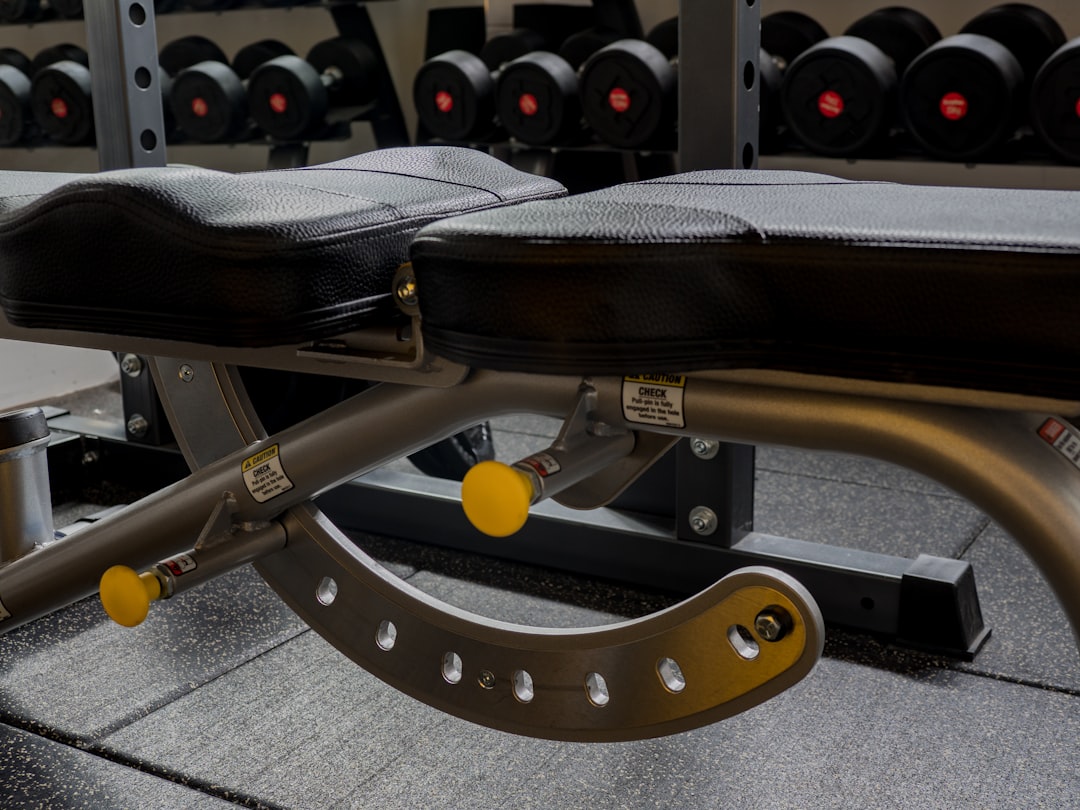
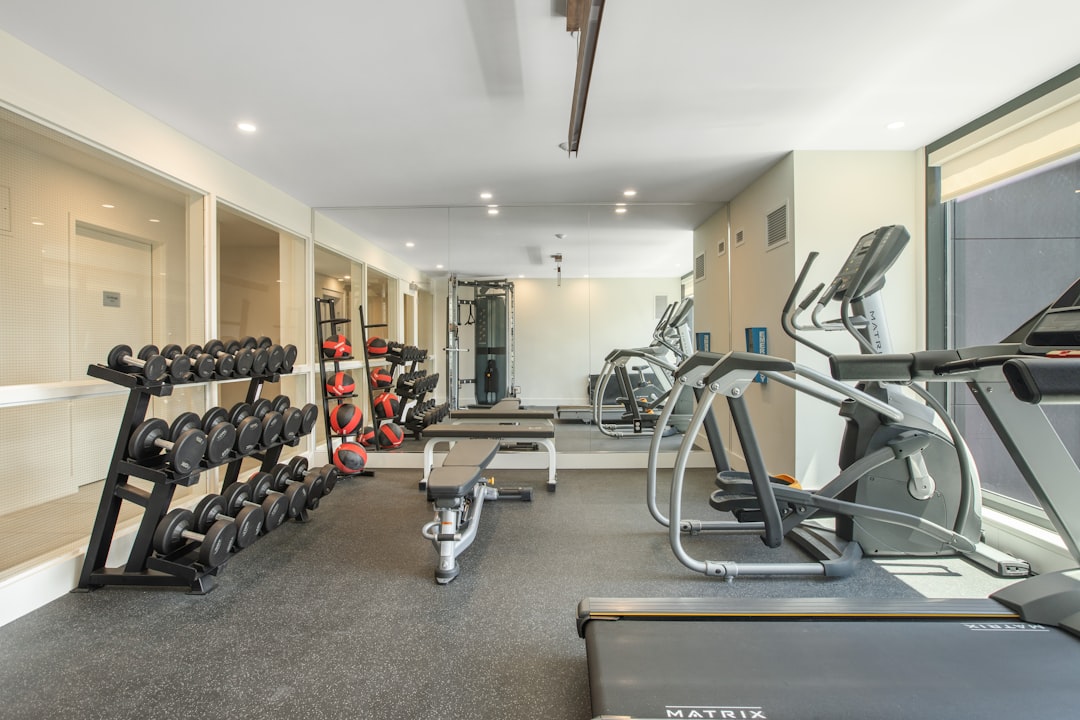
Walk into any commercial gym and count the benches. Not the dumbbells, not the treadmills — the benches. There’s a reason a big-box gym has twenty of them and never enough. They are the most borrowed surface in fitness, the piece of equipment that quietly supports half the exercises in any given program. And yet when my clients send me their home gym budgets, the bench is almost always the last line item — whatever cash is left after the flashy gear, if any.
I learned this one the hard way. My first apartment gym was a disaster of misplaced priorities: twelve hundred dollars of selectorized dumbbells sitting next to an eighty-nine dollar bench that rocked like a canoe every time I pressed. One wobbly heavy set later, with a dumbbell drifting sideways toward my shoulder, I understood the problem in my bones. Within a year, my team and I had rebuilt my own setup and, more importantly, rebuilt how I coach people through buying theirs. The bench gets evaluated first now. Everything else gets built around it.
The Purchase Nobody Budgets For
Here’s the pattern I see over and over. Someone falls in love with training at home, drops serious money on adjustable dumbbells or a smart cable column, and then grabs whatever bench is cheapest and ships flat. The gear is beautiful. The bench is an afterthought. And because the bench is the thing your body actually interfaces with — scapula, spine, hips, feet — the afterthought ends up steering the whole training experience.
A bench that flexes under load teaches your nervous system to brace against chaos instead of the weight. A pad that’s too short leaves your head hanging off the top during presses. A backrest that only hits two angles deletes half your exercise menu. None of these show up in the product photos, and all of them quietly cap your progress. If you’re mapping out a full setup from scratch, my guide on what to buy first and what to skip when building a home gym walks through the whole priority list — but the short version is that the bench belongs near the top of it, not the bottom.
Why One Flat Pad Runs Your Entire Program
Think about what a bench actually unlocks. Pressing, obviously — flat, incline, decline, floor. But also single-arm rows with braced support, Bulgarian split squats with your rear foot elevated, hip thrusts with your shoulders anchored, step-ups, seated shoulder work, chest-supported flies, triceps extensions, even core work like dead bugs from a seated position. Take the bench away and you lose the stable foundation for most of those movements, or you end up improvising on a couch cushion and calling it training.
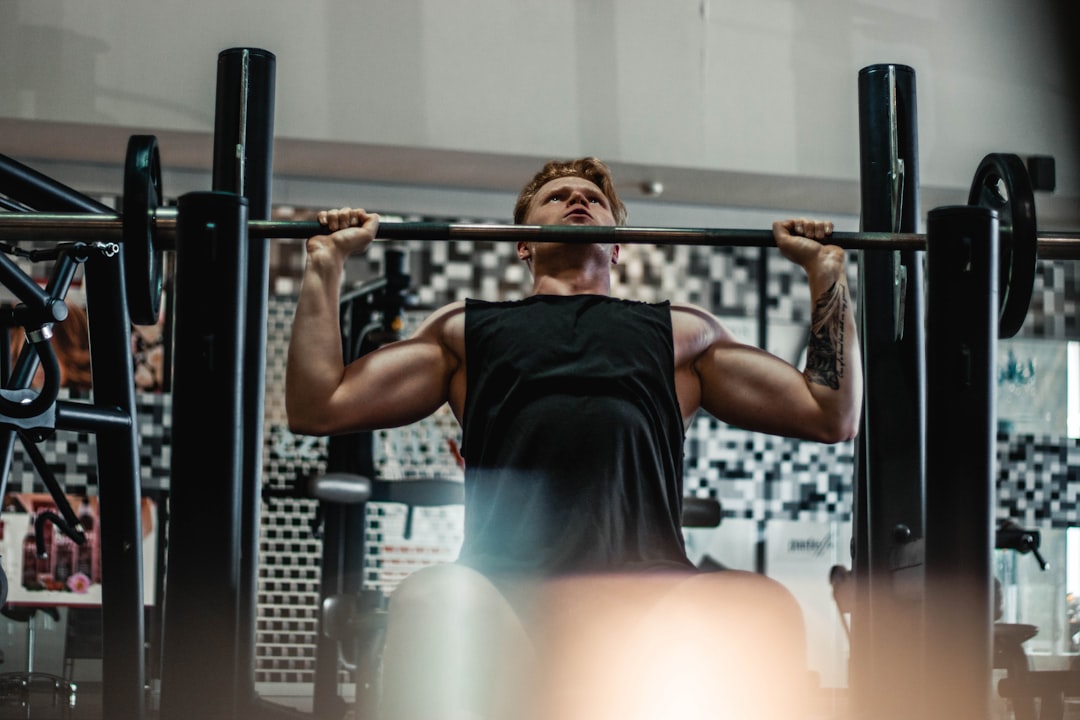
The quieter benefit is progressive overload. Strength is a skill of repetition, and repetition demands a consistent setup: same pad height, same angle, same contact points, session after session. When your surface is stable and repeatable, you can actually tell whether you’re getting stronger. When it shifts underneath you, every set is a new experiment. My own weekly strength block — the one I wrote about in ninety minutes of iron — leans on exactly this kind of consistency, and it’s why I stopped treating benches as furniture.
Flat, Adjustable, or Both: A Simple Decision Tree
Flat benches are cheaper, nearly indestructible, and honestly all you need if your program is built around presses, rows, and step-ups. Adjustable flat-incline-decline (FID) benches cost more and add moving parts, but they hand you incline pressing for shoulders and upper chest, seated work, and decline options — the full menu. My rule of thumb after two decades of coaching: if you train with dumbbells and you’re buying exactly one bench, buy adjustable. If you already own a rack and a barbell and you want a dedicated pressing station, a flat bench beside it is a beautiful thing.
Space is the tiebreaker. Foldable FID designs have gotten genuinely good — models like this compact foldable bench with eight backrest positions slide behind a door or under a bed, which matters when your gym shares square footage with your living room. And if you’re pairing the bench with selectorized weights, my guide to adjustable dumbbells under $300 for small spaces covers which sets play nicest with a narrow backrest.
Five Things I Check Before Recommending Any Bench
My team and I have a standing checklist we run through whenever a client asks us to vet a bench. Steal it.
- The pad gap test. Adjust the backrest through every position and feel where seat meets backrest. A wide gap or a lip at full incline will dig into your lower back on seated presses. Well-engineered benches keep that seam tight through the whole range.
- The honest weight rating. Add your body weight plus the heaviest weight you’ll ever press, then double your expectation of yourself over five years. A bench rated at 660 pounds sounds excessive until you remember the rating covers you plus the load. ASTM certification is a good sign a brand actually tested it.
- An independently adjustable seat. The backrest inclining means nothing if the seat stays flat — you end up sliding downhill on every incline press. Seats that click through three or four angles are non-negotiable on an FID bench.
- Backrest range. Ninety degrees for seated work, down past flat into mild decline. Cheap benches top out at 80 degrees or stop at flat, and both limits matter more than you’d think six months in.
- Footprint and wheels. Measure your space, then measure it again. Transport wheels sound like a luxury until you’re dragging a 50-pound bench across the room twice a day. Foldable models earn their keep in apartments.
One more that didn’t fit the list format: pad length. If you’re over six feet tall, check the backrest dimensions, because budget benches are often cut short and your head will hang off the end mid-press. Ask me how I know.
What’s Actually Worth Buying at Each Budget
You don’t need to spend a fortune — you need to spend it in the right place. After putting clients and my own garage through a small museum of benches, here’s where I’d put real money in 2026.
The do-it-all FID pick. The FLYBIRD adjustable weight bench is the one I recommend most often: ASTM-certified to 800 pounds, a backrest that runs from 90 degrees to negative 30, an extended pad for taller lifters, and it folds for storage. For most home setups this is the whole category in one purchase.
The taller-lifter upgrade. If the standard pad feels cramped, the YOLEO bench with the extended backrest adds length where longer torsos actually need it, with an 827-pound rating and near tool-free assembly out of the box.
The apartment answer. Tight on space? The NICEPEOPLE foldable bench with eight backrest positions was designed for exactly this — a 660-pound capacity unit that collapses fast and tucks into a closet between sessions.
The flat-bench purist route. If a rack and barbell anchor your gym, skip the mechanisms entirely. CAP’s classic flat bench (500-pound capacity, zero moving parts) will outlive most of your other equipment, and the Amazon Basics flat bench is the least expensive option I’ve seen that doesn’t wobble like a barstool.
Then pair it properly. CAP’s quick-select ADJUSTABELL dumbbell set next to your bench covers an entire strength program in about four square feet, and an A-frame dumbbell rack keeps the pairing tidy instead of tripwire.
Small Accessories That Multiply a Hundred-Dollar Bench
The bench is the anchor; a few cheap add-ons are the force multipliers. My favorite is a set of fractional plates. Presses stall not because you’re weak but because the smallest jump available to you is five pounds a side. Micro-plates of a quarter to one pound turn a wall into a staircase — I’ve watched clients break year-long plateaus in a month with nothing but a simple fractional plate set and patience.
Bands earn their spot too. A tube set with handles — I keep this five-level resistance band set in my travel bag — gives you assisted pull-up work off the bench, warm-up shoulder dislocates, and rows when you’re away from your dumbbells. A pack of light loop bands handles glute activation before hip thrusts and split squats, which is the difference between feeling the movement and just completing it.
And please, protect your floor and your bench’s feet. Interlocking foam tiles like the ProsourceFit puzzle mats under the bench zone deaden noise, stop scratches, and give you a defined training corner — I wrote a whole breakdown of options in my home gym flooring guide if you want to go deeper.
The Twenty-Five Minute Bench Session
Want to see why I’m evangelical? Here’s the exact session I hand clients who claim they have no time. Twenty-five minutes, one bench, one pair of dumbbells:
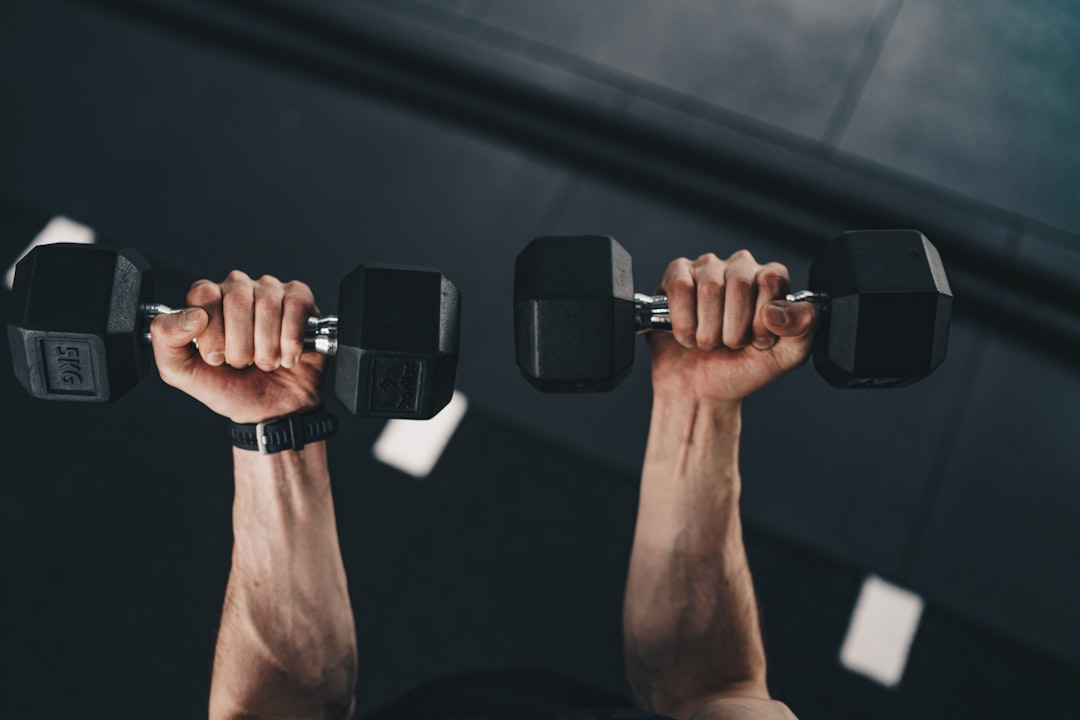
- Goblet squats — 3 sets of 10, slow on the way down
- Incline dumbbell presses — 4 sets of 8, two seconds lowering
- Bulgarian split squats, rear foot on the bench — 3 sets of 8 per leg
- Chest-supported single-arm rows — 3 sets of 10 per side
- Bench hip thrusts — 3 sets of 15, full squeeze at the top
- Finisher: step-ups on the bench, 2 minutes of continuous work
That’s six movement patterns, every major muscle group, real strength stimulus, zero machines. When people tell me they can’t train at home, this is the workout that changes their minds — and it’s only possible because the bench holds every position the session demands.
Set It Up Once, Forget It for a Decade
Once your bench lands, placement is simple but worth doing deliberately. Give yourself arm’s length of clearance on both long sides and behind the head, park it on padded flooring, and — this is the one everyone skips — check the frame bolts every couple of months. Adjustable benches live on their hardware, and a sixty-second wrench pass keeps a good one tight for a decade.
I still have the bench that replaced my eighty-nine-dollar mistake. It’s dented, the pad is softened where my shoulders land, and it has supported more training hours than any other object I own. That’s the honest pitch: a bench is the least exciting purchase in your home gym and the one that quietly runs everything else. Buy it first, buy it once, and every flashy thing you add later has somewhere solid to stand.