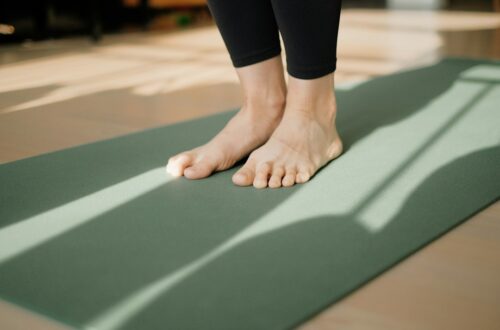
There is a particular kind of humiliation that only happens in a packed yoga studio: your hands slowly sliding forward in downward dog while you smile at your neighbor like everything is fine. I lived that scene years ago on a bargain-bin mat that cost less than my post-class smoothie, and I remember thinking, surely the mat isn’t the problem. Reader, the mat was absolutely the problem.
Since then I have practiced on, sweated on, rolled up, and thrown out more mats than I care to admit — fifteen at last count, not including the loaners my coaching team keeps in the trunk for outdoor sessions. After the last round of testing, I finally sat down with my notes and built the guide I wish someone had handed me at the start. Because here’s the thing nobody tells you: a mat isn’t an accessory. It’s the single piece of equipment you touch in every single practice, and the wrong one quietly sabotages your alignment, your joints, and honestly, your willingness to show up at all.
Why Your Mat Matters More Than Any Other Gear Decision
When I ask new clients what they spent on their home practice setup, they usually rattle off a smart mat here, an app subscription there — and then mention their mat like it was an afterthought from a clearance bin. That ordering is exactly backwards. Your mat is your foundation, your shock absorber, your grip surface, and in many ways your accountability device. A mat that feels good under your hands makes you want to unroll it. A mat that smells like a chemical factory or slips when you sweat gives you a convenient excuse to skip.
The differences aren’t subtle once you know what to look for. Grip, cushioning, weight, material, and size each pull the experience in a different direction, and every “best mat” answer depends on which of those matters most for your body and your practice. So let’s break it down the way my team and I test them: material first, then thickness, then grip, then the details that separate a good mat from one you’ll still own in ten years.
The Material Question: Rubber, TPE, PVC, and Cork Explained
Walk into any sporting goods aisle and you’ll see a wall of mats that look nearly identical. They are not. The material determines grip, durability, smell, and how the mat ages — and it’s the first place cheap mats cut corners.
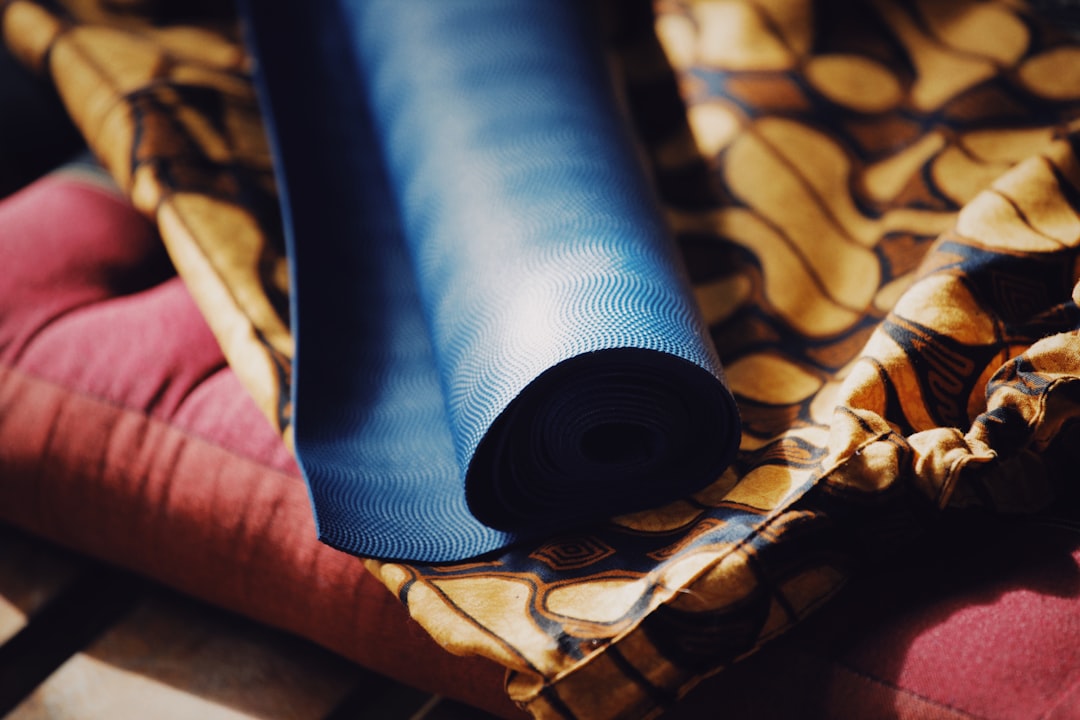
PVC is the old workhorse. It’s durable, wipeable, and inexpensive, which is why so many budget mats use it. The downsides: it’s not biodegradable, and cheaper versions can off-gas that plasticky smell for weeks. TPE (thermoplastic elastomer) is the modern middle ground — lighter, typically friendlier on the nose, and moderately eco-conscious, though it tends to wear out faster under daily use. Natural rubber is what most of my long-term mats are made of. It grips like crazy, ages gracefully, and has a dense, grounded feel that foam simply can’t fake. If you have a latex sensitivity, check labels carefully, because rubber mats occasionally contain latex blends.
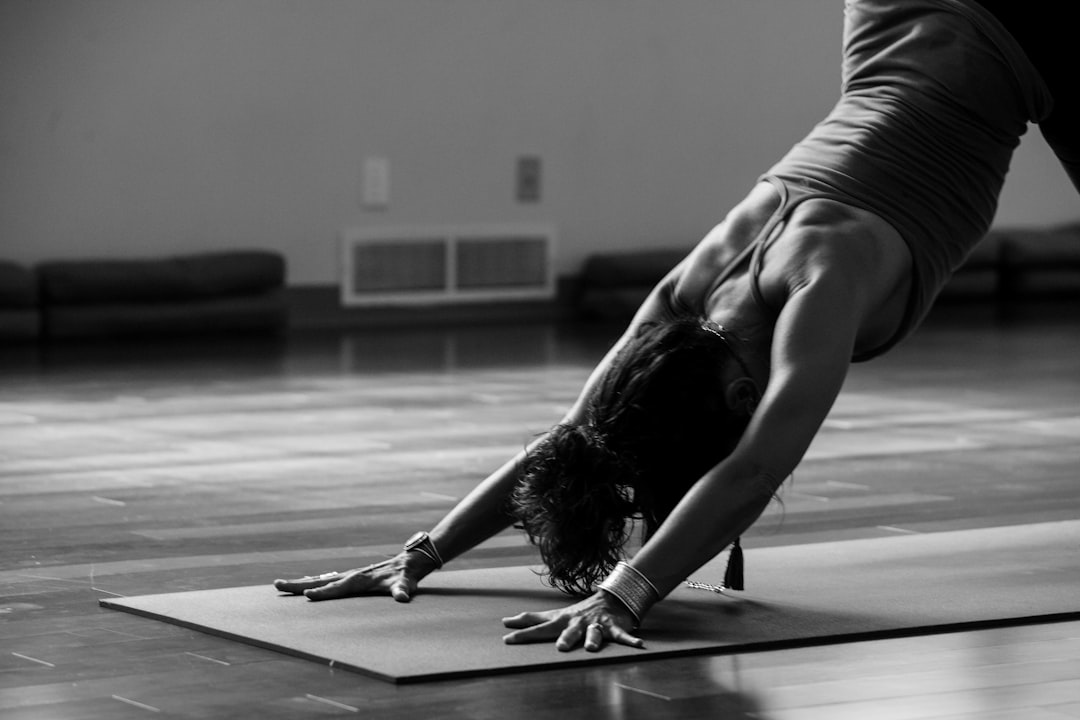
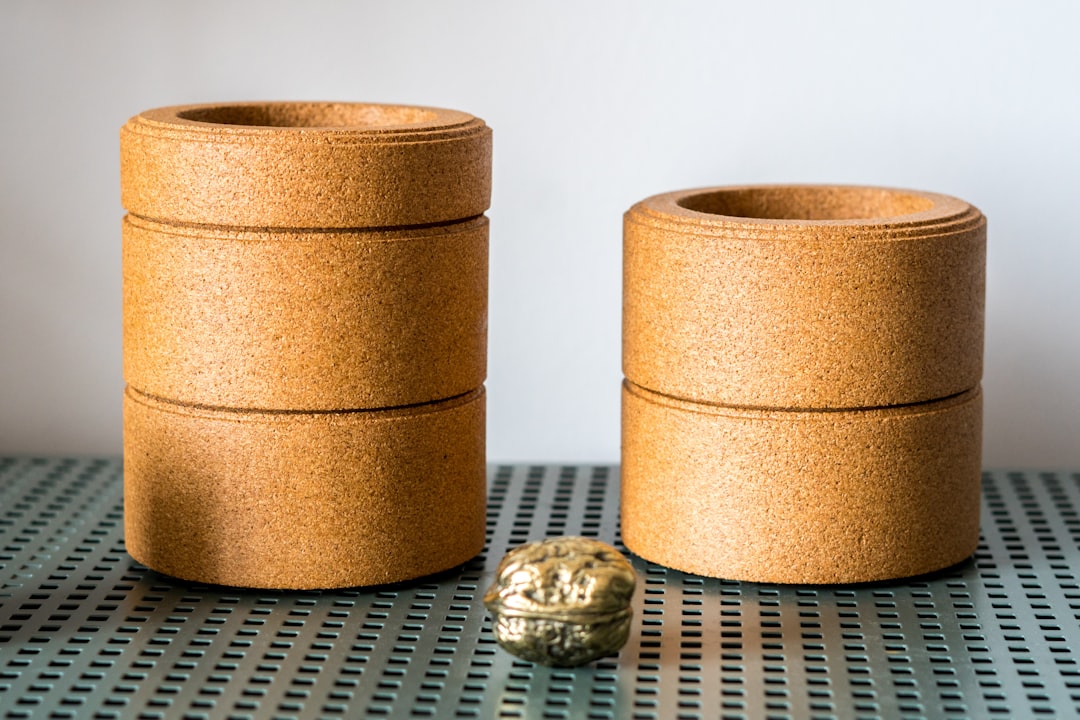
Cork is the wildcard I’ve grown to love for hot classes. Cork surfaces actually gain grip as they get damp, which sounds like marketing nonsense until your hands stay planted through a sweaty warrior sequence for the first time. The Gaiam cork mat is an affordable way to test that theory yourself — it pairs a cork top with a foam base, so you get the grip without the premium-rubber price tag.
Thickness: The Number That Changes Everything
If material is the personality, thickness is the posture. And I’ll be blunt: most people get this number wrong in one of two directions.
The standard is around 5mm. That’s enough cushioning for knees and wrists in floor poses without turning balancing postures into a wobble-fest. My daily driver for the past three years is the Manduka PRO at 6mm — it’s dense, supportive, and famously backed by a lifetime guarantee. It costs more upfront than a big-box mat, but when I divide the price by the years of daily use, it’s the cheapest mat I’ve ever owned per session. My team jokes that it’s the mat you buy once and put in your will.
Go thicker — 10mm and up — and you enter comfort territory. These mats feel luxurious for stretching, core work, and gentle floor sessions, especially if sensitive knees make you wince every time you kneel. The tradeoff is stability: soft, thick foam compresses underfoot, which makes balance poses harder. For restorative practice or anyone whose joints need maximum forgiveness, a mat like the Amazon Basics extra-thick mat does the job for a remarkably small investment. And if knee pain is your specific nemesis, the CAP half-inch mat with an included knee pad is a clever combo my older clients genuinely appreciate.
Go thinner than 5mm and you’re trading cushion for connection. Thin mats keep you grounded and stable, and they fold or roll down to almost nothing. That’s exactly what you want for travel — more on that in a minute.
The Grip Problem: What to Do When Your Hands Sweat
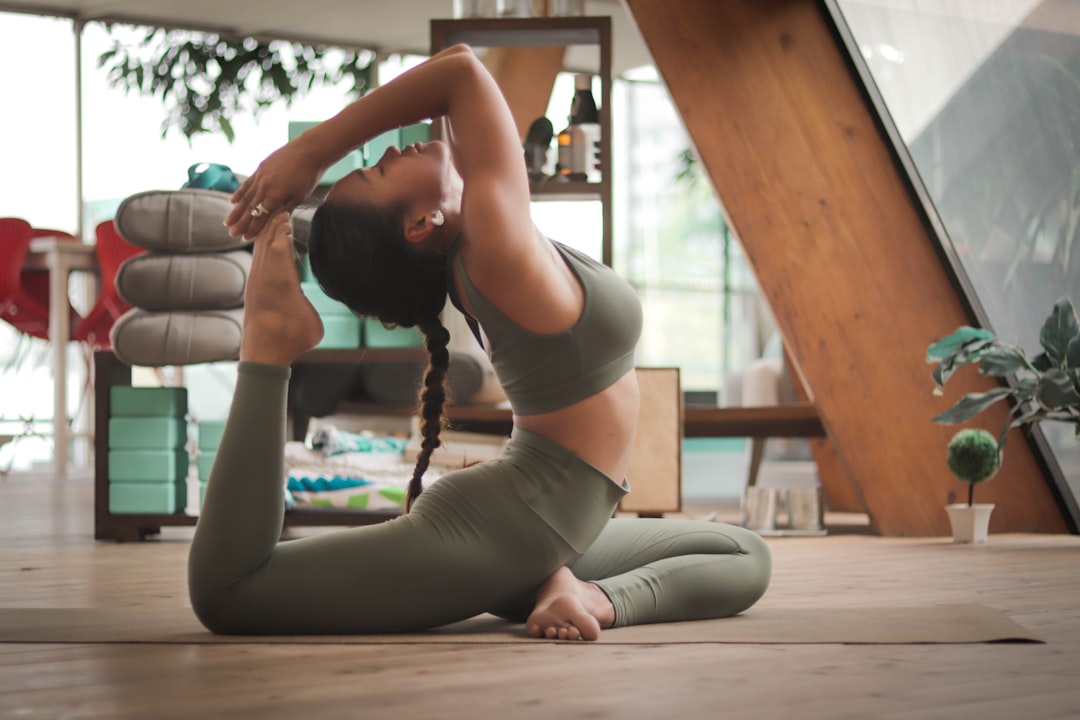
Here is a confession from a former heptathlete: I sweat more than almost anyone in the room. Grip, therefore, became my obsession. A slick mat doesn’t just annoy you — it changes how you practice. You unconsciously grip with your fingers, shrug your shoulders, and shorten your stance to avoid sliding, and suddenly your alignment is a compromise negotiation instead of a clean line.
Dry grip is easy — most decent mats handle it. Damp grip separates the real ones from the pretenders. Natural rubber performs beautifully as long as you keep it clean (skin oils are grip killers). Cork, as I mentioned, improves with moisture. PVC and TPE vary wildly; the surface texture matters as much as the chemistry.
Two fixes work no matter what mat you own. First, break in new rubber mats by using them — a few weeks of practice knocks down the factory release agents. Second, for hot yoga or heavy sweaters, a grippy mat towel layered on top changes everything. I keep a two-pack of non-slip hot yoga towels in my class bag so one is always clean; they wash easily and extend the life of the mat underneath.
Size, Weight, and the Case for a Travel Mat
The standard mat runs about 68 by 24 inches. If you’re tall — over six feet, like half the athletes I coach — seek out the 71-to-85-inch long versions, because practicing with your heels hanging off the back of the mat is a quiet form of torture. Width matters too if you have broader shoulders; a few extra inches of width makes a surprising difference in wide-legged poses.
Then there’s travel. Dragging a 5-pound rubber mat through an airport is a choice, and it’s the wrong one. This is exactly why thin travel mats exist: my go-to is the Manduka eKO SuperLite, a 1.5mm sheet of natural rubber that folds into a rectangle the size of a paperback and weighs almost nothing. It’s not cushioned — you’ll feel the floor — but the grip is real, and I’ve laid it over hotel carpet, dock wood, and more than one questionable gym floor. Folded into my carry-on, it has done sunrise sessions on three continents.
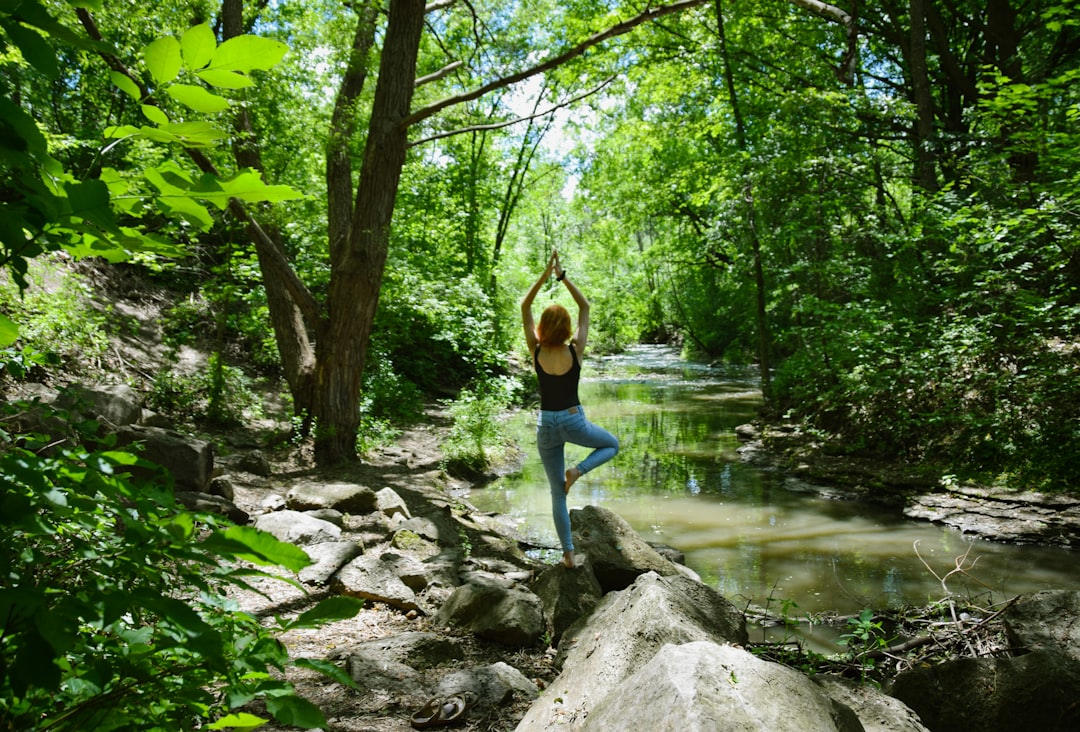
If your travel plans lean toward outdoor practice, that thin mat plus a flat patch of ground is all the studio you need. Some of my favorite flows have happened on grass and sand — just wipe the mat down after, and maybe check out my earlier piece on why dawn became my secret training window for the full morning-movement routine.
The Accessories That Actually Earn Their Spot
A mat alone is a complete practice. But a few low-cost additions remove the most common excuses people have for skipping sessions or avoiding poses they “can’t” do yet. After building out a full home studio space on a budget — I wrote about that entire project in my under-$300 Pilates setup guide — here’s the short list.
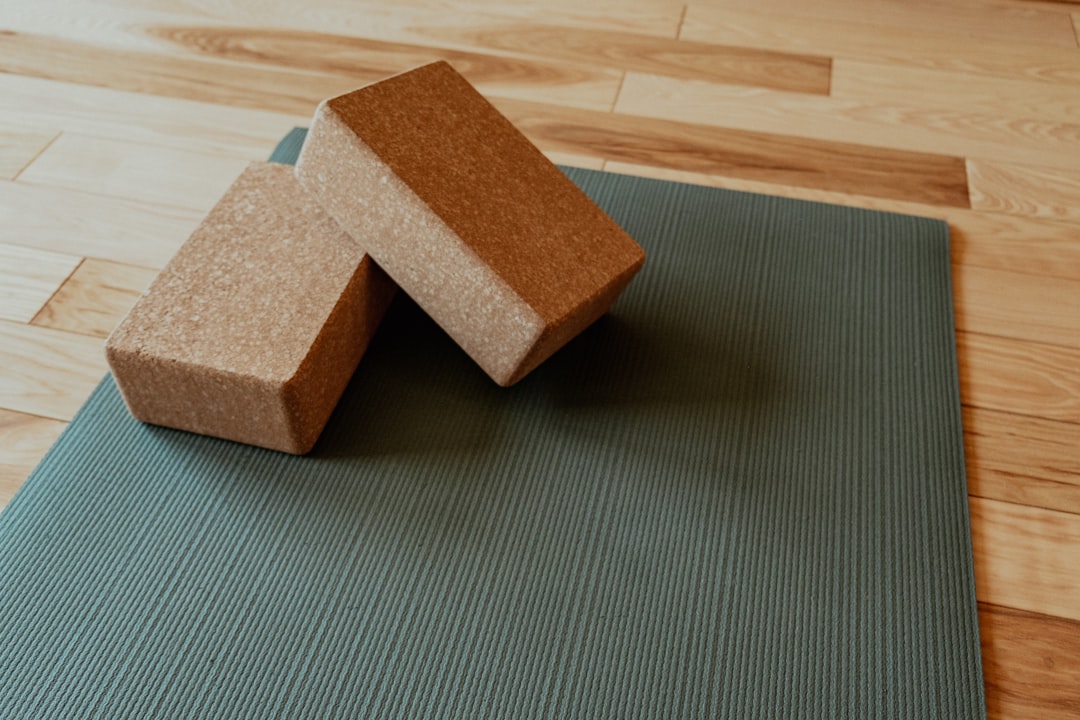
Blocks. Two blocks turn “I’m not flexible enough” into “I’m working at my edge safely.” Sit on one in pigeon prep, place hands on them in half-moon, and suddenly intermediate poses become accessible this month instead of next year. A pair of natural cork blocks is sturdier and more sustainable than foam, and they don’t slide on hardwood the way cheaper ones can.
A strap. Tight hamstrings are the most common limitation I see in new clients, and a strap bridges the gap while your flexibility catches up. The Trideer stretching strap with numbered loops is the one my team reaches for during cool-downs — the loops give you consistent hand positions week over week, so progress is measurable instead of guesswork. If you want the starter bundle in one click, this cork block and strap set covers both for less than the cost of a single studio class.
Care and Keeping: How Good Mats Die Early
Most mats aren’t replaced because they wear out — they’re replaced because they’re neglected. Sweat, skin oils, and dust degrade grip faster than time does. The fix takes sixty seconds: after a sweaty session, wipe the surface with a gentle cleaner and let it dry rolled out, never rolled up damp. (Rolled-up damp mats are how you grow a science experiment.) I keep a bottle of the ASUTRA mat cleaner spray by the door — the lavender version smells like a spa day instead of a gym bag, and the residue-free formula doesn’t leave the slick film that some household cleaners do.
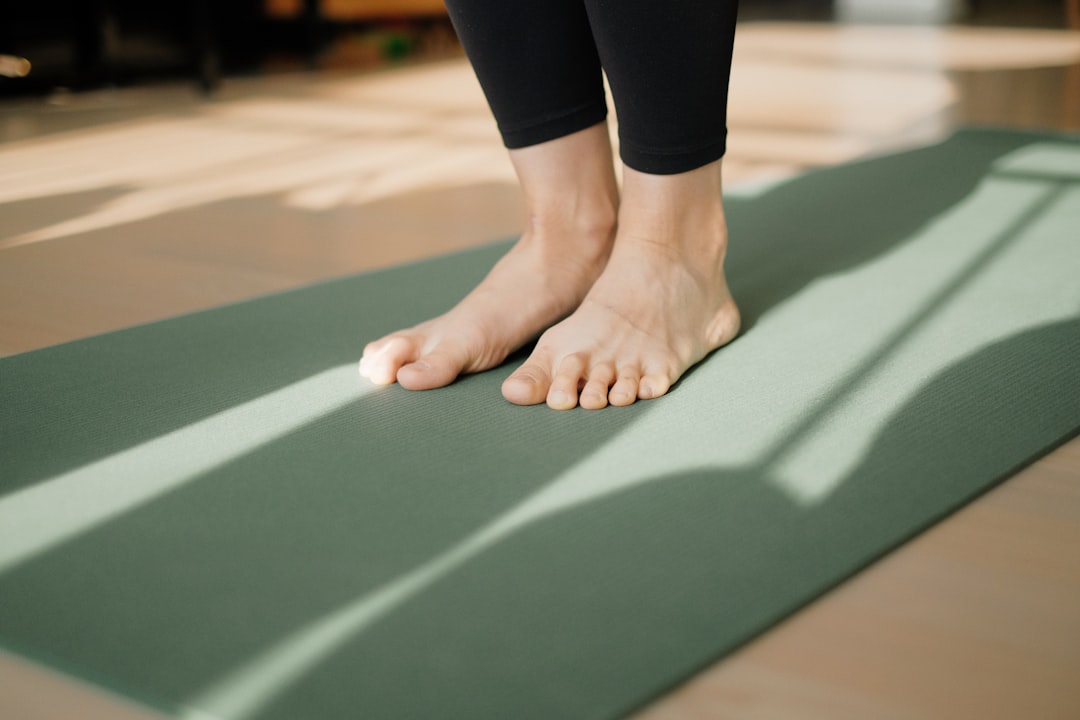
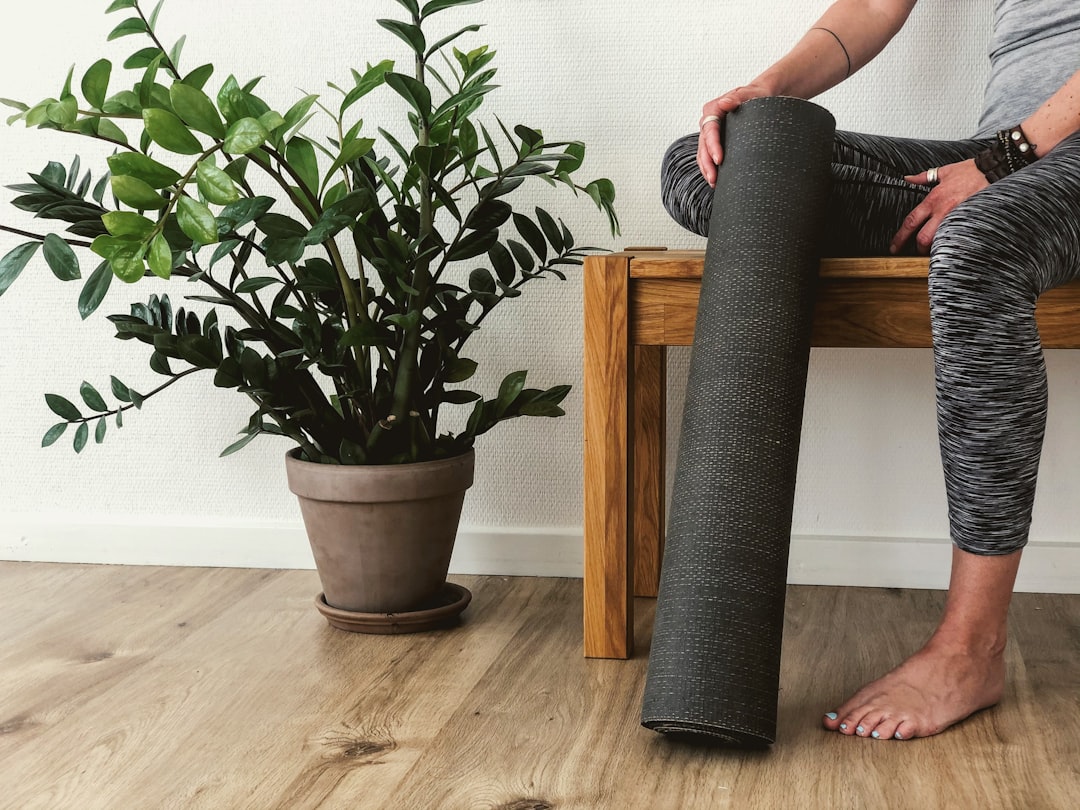
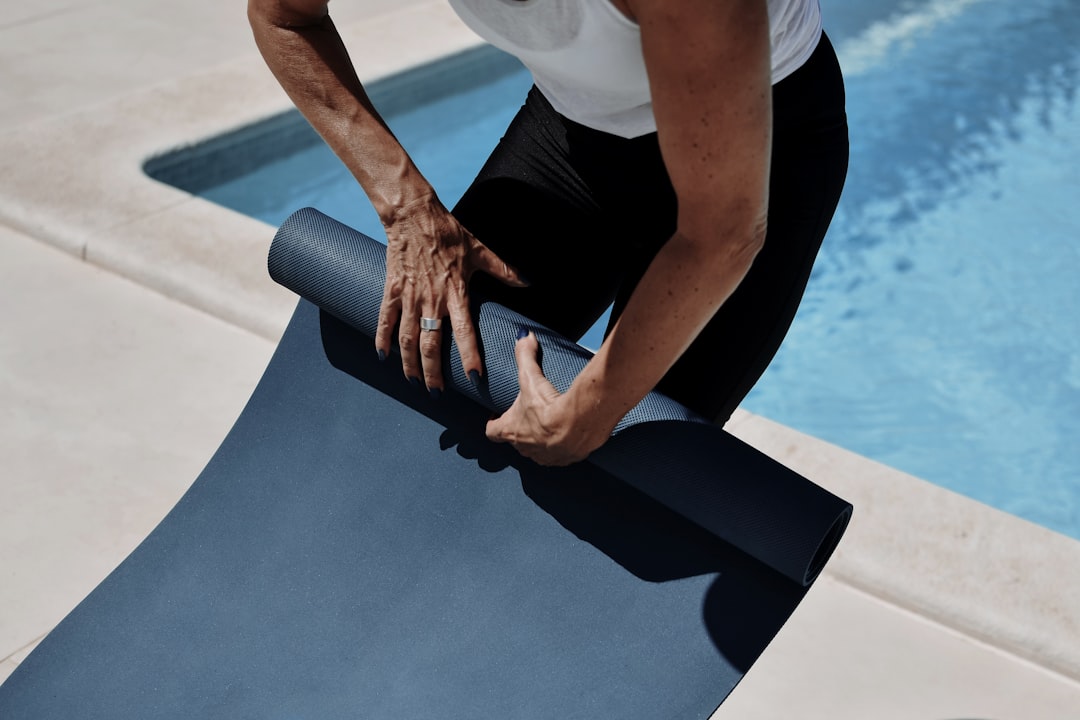
Storage matters too. Rubber mats prefer to be rolled with the practice side out, stored out of direct sunlight — UV light is what makes rubber mats eventually crack and crumble. Hang it or lay it flat when you can; permanent compression creases are difficult to undo.
My Honest Verdict After Fifteen Mats
If you’re starting from zero: buy a solid mid-range mat around 5-6mm — the Gaiam Premium 6mm is a dependable pick under fifty dollars that won’t fight you while you learn. If you already love the practice and want a mat for the next decade, the Manduka PRO is the one I put my own money on, twice. Sweat heavily? Cork top or rubber plus a grip towel. Travel often? Thin rubber folds into your bag and refuses to be an excuse. Sensitive knees? Go thick or add targeted padding.
There’s no single perfect mat — there’s the right mat for your practice, your floor, and your particular collection of creaky joints. Get that decision right, and everything else in your practice gets a little easier: your grip steadier, your knees quieter, and your unrolled mat waiting in the corner like an invitation instead of an obligation. If you’re rebuilding your whole home setup this season, my complete resistance bands guide pairs nicely with a fresh mat for a full-body corner that fits in any room.
Unroll it tomorrow morning. Your hands will stay exactly where you put them — and that, I promise, changes everything about how the next hour feels.