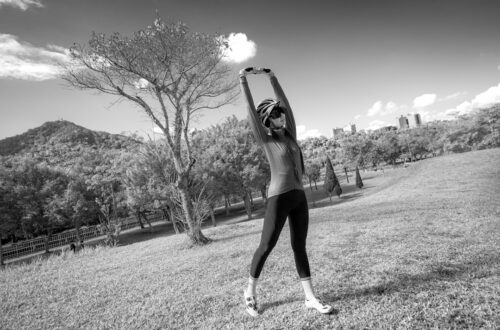
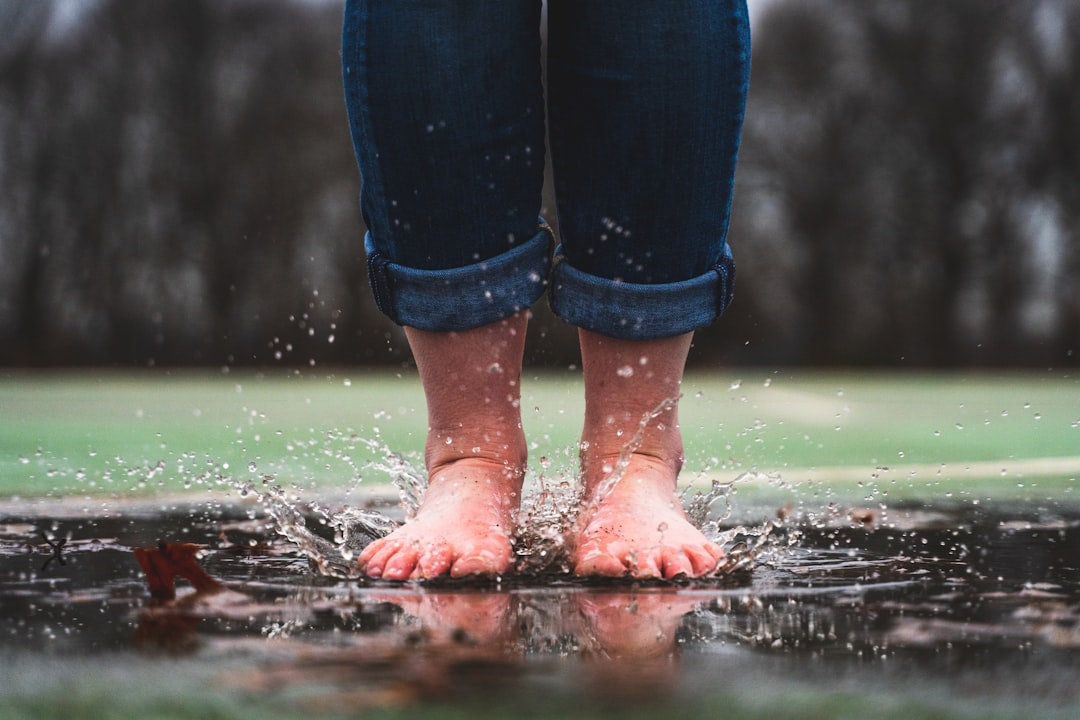
I’ll be honest with you. When I first heard about people voluntarily lowering themselves into freezing water, I thought they had lost their minds. I spent nearly a decade competing in track and field — the heptathlon, if you’re curious — and ice baths were something my coach made me do after brutal training sessions. They were miserable, and I tolerated them because I wanted to recover faster. Never once did I think I’d voluntarily do this at home, let alone actually research and compare cold plunge setups for fun.
But here we are in 2026, and cold plunging has become the wellness ritual I didn’t know I was missing. After spending the better part of three months deep-diving into every cold plunge option you can actually order online — from $100 inflatable setups to full chiller-and-tub combos that cost more than my first car — I’ve developed some strong opinions. And since I’ve already done the homework, you don’t have to.
What I found surprised me. You don’t need to drop twelve grand to get a genuinely effective cold therapy setup at home. But you also can’t just fill a kiddie pool with garden hose water and call it a plunge. There’s a sweet spot, and it comes down to three things: the tub, the temperature control, and the accessories that make the whole experience something you’ll actually stick with.
The Science That Actually Convinced Me
Before we talk gear, let’s talk about why this works — because I was skeptical too. A 2023 review in Frontiers in Physiology confirmed what athletes have known for decades: cold water immersion significantly reduces delayed-onset muscle soreness and accelerates recovery when used within an hour after intense training. But what really caught my attention was newer research from early 2026 showing that immersion in 57°F water increases plasma norepinephrine by 530% and dopamine by 250% nearly instantly.
Translation? Your body floods your system with feel-good chemicals the moment you hit the cold. It’s not just about physical recovery — it’s about mental clarity, mood elevation, and what researchers are calling “nervous system regulation.” I’ve written before about how I had the perfect wellness routine and still felt exhausted, and honestly, cold plunging was one of the habits that finally moved the needle for my energy levels.
Now, some trainers will tell you that cold immersion right after strength training can blunt hypertrophy adaptations. That’s real — the research backs it up. So if you’re in a heavy lifting phase, save your plunges for rest days or at least six hours post-workout. I learned this the hard way after stalling on my squat progression for three weeks while doing daily plunges immediately after lifting.
The Tub: What to Actually Buy
Here’s where things get interesting. There are basically three tiers of cold plunge tubs on the market right now, and I’ve spent an embarrassing number of hours comparing every option.
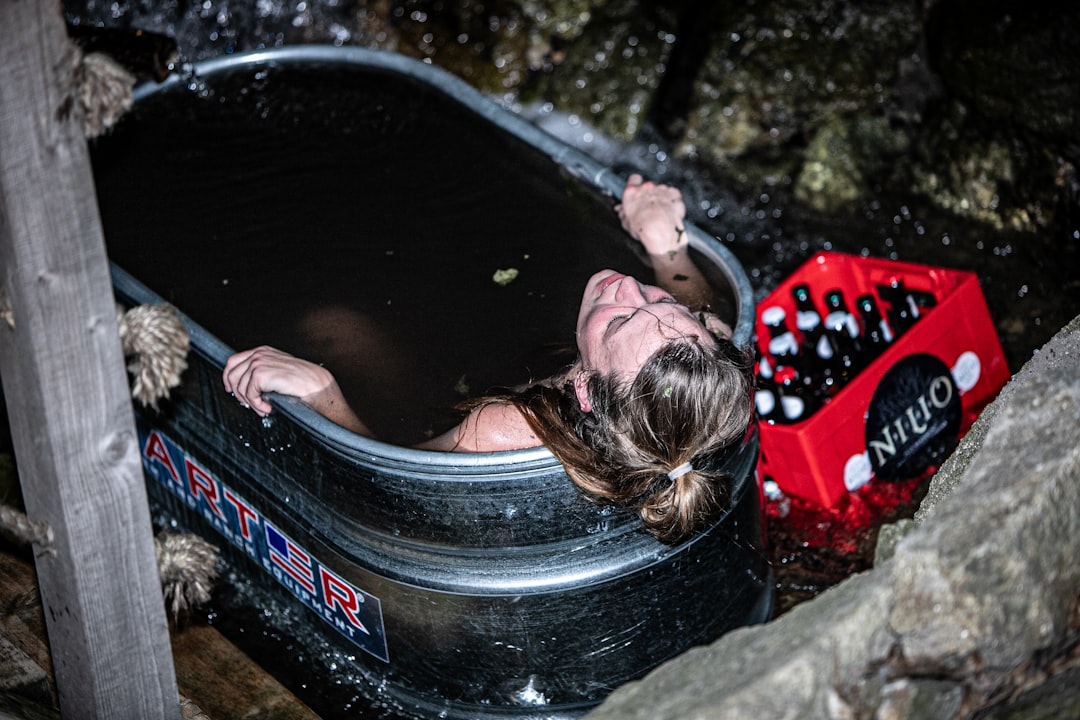
Tier 1: The Budget Inflatable ($100–$200)
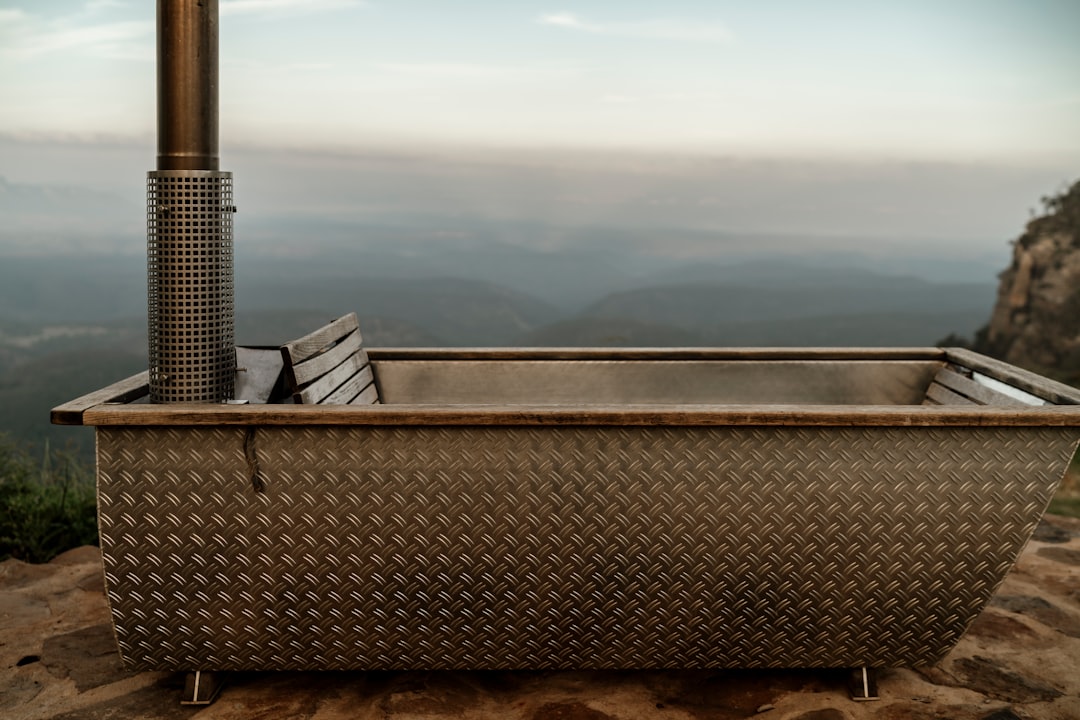
If you’re just starting out, an inflatable tub is the smartest investment you can make. My top pick here is the Pod Company Ice Pod Pro, which holds 110 gallons, fits people up to 6’7″, and is made from BPA-free, UV-resistant nylon. What I love about this one is the insulation — it actually maintains temperature for a respectable amount of time, which matters more than you’d think when you’re dumping twenty pounds of ice into it.
The XXL Ice Bath Tub is another solid inflatable option if you want something even bigger — it holds 216 gallons and comes chiller-compatible with an insulated lid, thermometer, and water-absorbent mat included. I appreciate that they thought about the little things, because nothing ruins a cold plunge session quite than realizing you forgot to buy a thermometer and have no idea if your water is 50°F or 65°F.
For a hot-and-cold option, the Upgrade XL Hot & Cold Plunge Tub lets you switch between hot and cold therapy without buying two separate tubs. If you’re someone who likes contrast therapy — three minutes hot, one minute cold — this is genuinely convenient. It’s 119 gallons, which is plenty for most adults.
Tier 2: The Chiller Upgrade ($400–$900)
Here’s the truth nobody tells you about inflatable tubs: buying ice gets old fast. After two weeks of daily plunging, I was going through 40 pounds of ice a day, and my freezer couldn’t keep up. That’s where a water chiller comes in.
The AS ColdPlunge Ice Bath Water Chiller is a 1/3 horsepower unit that can pull your water down to 41°F and hold it there. It comes with a built-in filter and pump, which means you’re not just cooling the water — you’re keeping it clean. I cannot stress enough how important filtration is. Without it, you’re basically soaking in a bacteria soup after day three.
If you want something more compact, the Pod Company Standard Water Chiller is designed to pair specifically with their Ice Pod Pro and gets similarly cold while being more energy-efficient. It’s the setup I personally run at home, and my electric bill barely noticed the difference.
For the ultimate all-in-one, the Ice Bath Chiller & Cold Plunge Tub Kit bundles a 1/3 HP chiller with a 148-gallon tub, external filter, pump, and all the hoses you need. If you don’t want to piece together a system, this is the “just works” option. It’s what I’d buy for my parents if they wanted to start plunging.
Tier 3: The Premium Setup ($2,000+)
I’m not going to spend too much time here because honestly, you can get 90% of the benefit for 20% of the cost with a good inflatable and a chiller. Brands like Sun Home, BlueCube, and Morozko make gorgeous, self-contained units with ozone sanitization, precise digital temperature control, and sleek designs that look amazing on an Instagram feed. But if you’re just looking for the physiological benefits of cold immersion, the tier-1 and tier-2 setups deliver. Promise.

The Accessories That Actually Matter
This is where a lot of people overspend, so let me save you some money. You need exactly three accessories to have a great cold plunge experience, and one nice-to-have.
A Floating Thermometer with Timer (Non-Negotiable)
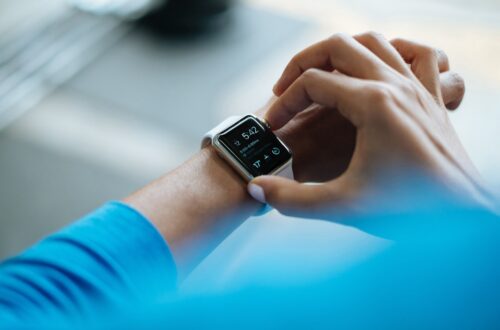
If you’re plunging without a thermometer, you’re guessing. And guessing with cold water is how people end up in the early stages of hypothermia wondering why they feel dizzy. I use a silicone-covered floating thermometer with a built-in timer, and it’s one of the best $20 I’ve spent on my recovery setup. The timer is essential because once you’re in the water, your sense of time completely distorts. Two minutes feels like ten, and ten minutes feels like you’ve been in there since the Pleistocene era.
If you want something a bit more precise, the IP67 waterproof digital thermometer with LED display gives you a backlight for early morning plunges (which, trust me, is when you’ll want to do them) and an audible beep when your target time is up. Because cold hands are clumsy hands, and fumbling with your phone timer while shivering is not a vibe.
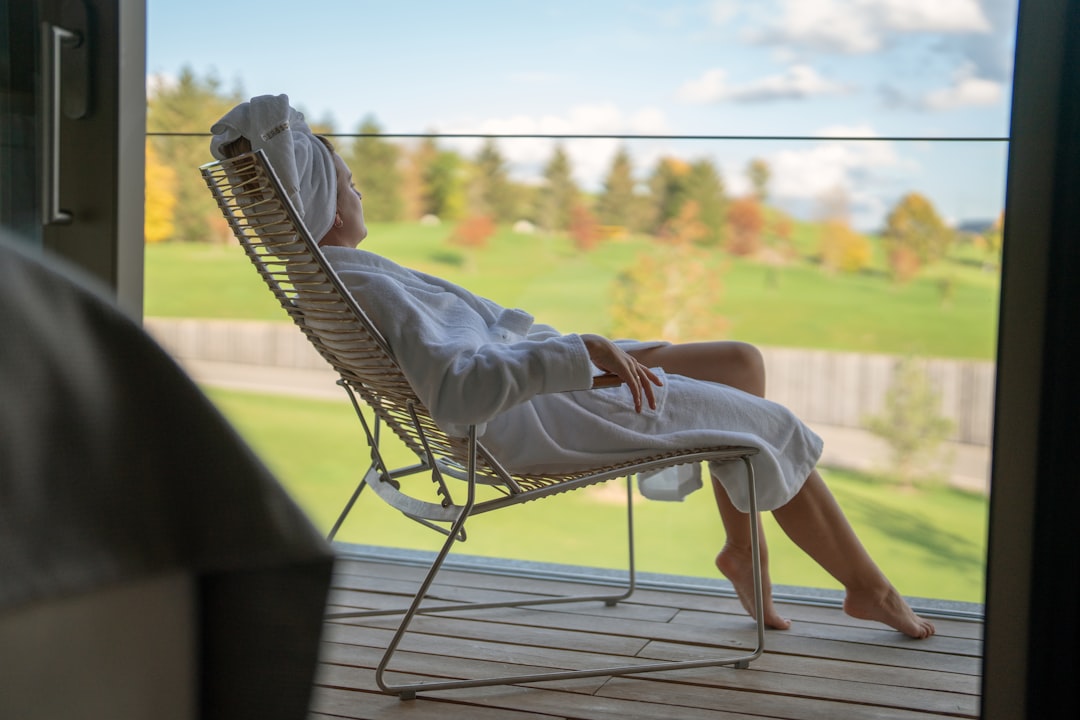
Something Warm for After
The plunge itself is only half the ritual. The other half is that glorious moment when you step out and your body starts warming back up. Having a thick, absorbent robe waiting for you transforms the experience from “survival” to “spa day.” I treated myself to a Brooklinen Luxury Cotton Bath Robe after my first month of daily plunging, and honestly, it made me more consistent. When the robe is hanging there looking cozy, you’re more likely to get in the water.
A Distraction (Optional but Helpful)
For the first two weeks, the shock of the cold was enough to keep my attention. After that, I started wanting something to listen to while I sat in 50°F water for three minutes. A waterproof Bluetooth speaker lets you queue up a playlist or a podcast without risking your phone near the water. Is it necessary? No. Does it make the experience more enjoyable? Absolutely.
How I Built My Cold Plunge Routine (and How You Can Too)
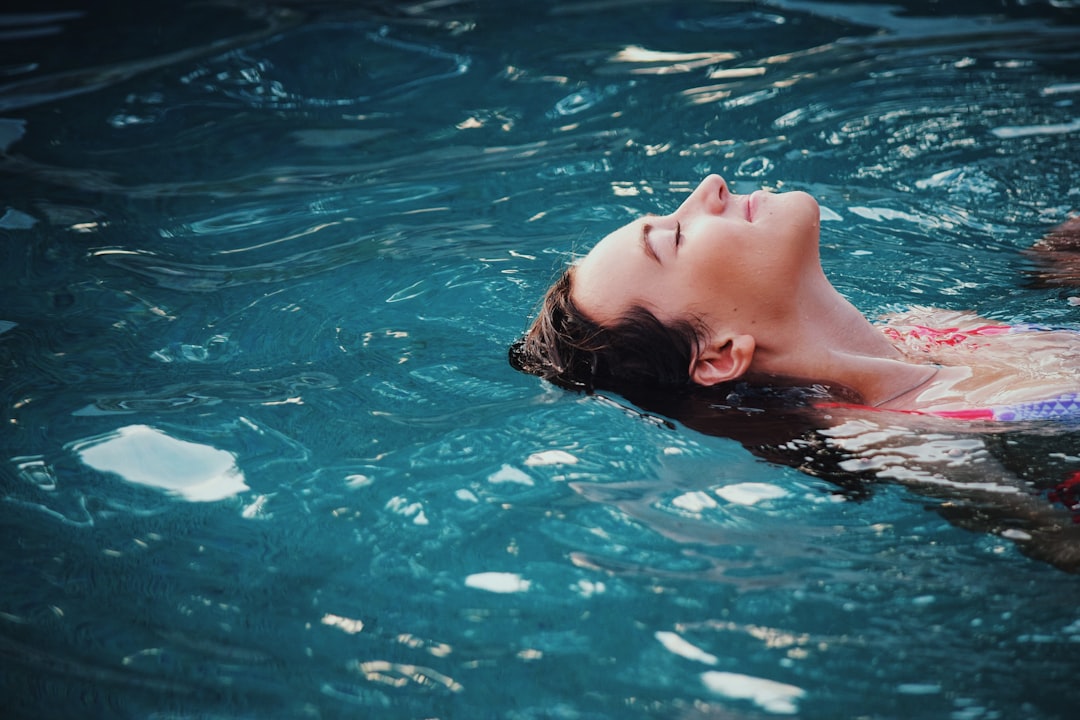
When I first started, I could barely last 30 seconds. My breathing would go ragged, my hands would claw up, and I’d scramble out feeling like I’d been punched by winter itself. Now I comfortably do three to four minutes at 50°F every morning, and it has become the cornerstone of my daily routine.
Here’s what worked for me: start at 60°F. Don’t be a hero. Get in for 30 seconds, then get out. The next day, try 45 seconds. Within two weeks, you’ll be at two minutes, and your body will have adapted to the point where it’s genuinely enjoyable — or at least tolerable in a way that feels rewarding rather than punishing.
I pair my cold plunge with my existing recovery stack. After a hard training session, I’ll use my thermoelectric recovery gun for targeted muscle work, then do a three-minute plunge, then spend some time in my compression boots. It sounds like a lot, but the entire circuit takes about 25 minutes, and I feel like a completely different person afterward.
On rest days, I plunge first thing in the morning — usually around 6 AM. The dopamine spike from the cold is better than any cup of coffee I’ve ever had, and it carries me through the entire workday with a level of focus I didn’t know was possible. My trusty foam roller still gets daily use, but the plunge is what sets the tone for my day.
What I’d Skip (Save Your Money)
Not everything in the cold plunge ecosystem is worth buying. I tested water additives that claim to “enhance the cold experience” (they don’t), special plunging socks (just use cheap neoprene booties from any sporting goods store), and expensive insulated covers that barely performed better than the standard lids that come with most tubs.
I’d also skip the fancy ergonomic steps and stools some companies sell to help you get in and out of your tub. A basic plastic step stool from the hardware store does the same job for a fraction of the cost. Put the money you saved toward a better chiller — your future self will thank you when it’s December and your water is still at 41°F.
The Bottom Line
If you’ve been cold plunge-curious but overwhelmed by the options, here’s my straightforward recommendation: Start with the Pod Company Ice Pod Pro tub, add a 1/3 HP water chiller once you’re committed (give it two weeks), grab a floating thermometer with a timer, and invest in a robe you love. Total investment: under $600 for a setup that will last years and deliver the same physiological benefits as setups costing five times as much.
The best cold plunge setup is the one you’ll actually use consistently. Not the most expensive one, not the one the influencers are posing next to — the one that fits your space, your budget, and your lifestyle. Mine sits in the corner of my garage, it’s not pretty, and I wouldn’t trade it for anything.
Your body is designed to handle cold. Your ancestors survived ice ages. You can handle three minutes in a tub of chilled water — and once you do, you’ll understand why so many of us have made this weird, wonderful practice part of our daily lives. Start small, stay consistent, and let the cold do its work. I’ll be right here cheering you on.